Let’s start with the most obvious question – what’s with the name? Well, as expected, jackofalltrades domain wasn’t available so this was the next best thing. Furthermore, when I was working on this website, I realized that its acronym is G.O.A.T. which is also an acronym for “Greatest of all Time” and that is an acronym I don’t mind sharing.
The next obvious question is – why make a blog? And there is a couple of reasons for that:
- Since this challenge isn’t just about photos, Facebook album isn’t the best place to show every kind of project.
- I wanted to have a place where I can be more detailed with the projects I’m making. (this could be 1B)
- Making websites is something I’ve done a lot and it is a skill I wanted to include in the challenge.
- Apparently, I don’t think that making something new every week is hard enough so I’m adding myself another commitment, to write a blog post about it every week.
Making websites is not something foreign to me, especially WordPress websites so this week’s project isn’t so much about learning something new but making something I’ll like and will be useful for this challenge.
While making this website, I only had a couple criteria:
- It would be minimal and elegant. Making something minimal sounds easy but it can be hard to execute it well. I hope I succeeded in that.
- When you land on the blog, the first thing you see will be the newest post and after it the rest of the posts in reverse chronological order.
- Since it is a blog only about this challenge, in the sidebar it would have only the list of all the posts in chronological order for easier navigation.
Boring stuff
This is something that definitely wouldn’t be in the Facebook album, but it is something which I’d like to share and it even might be useful to somebody. I’ll try to have a description of the process for every project I make.
Hosting and domain
The first thing you need for a website is a domain and hosting. (If you don’t want to have it only locally) After some research, I’ve settled for Hostinger for hosting and domain.com for a domain provider. Hostinger was the cheapest hosting I could find while also having good performances (based on reviews and from my own experience so far) and features. domain.com was recommended in an article I read while searching for hosting and I checked them out and they had a good price so I bought the domain from them. Setting stuff up with Hostinger was really easy, basically, just clicking next until you finish. It also helps you with installing WordPress seamlessly. It is also noteworthy that it comes with a free SSL certificate and Cloudflare protection. SSL certificate is really important and you should have it so if you’re making your own website make sure to get one.
Theme
After setting up WordPress comes often the hardest part for me. Choosing the theme. There are a million WordPress themes and it’s hard to navigate through them and evaluate them without trying them, especially if you are looking for a free one, which I was, because they are often of lower quality. However, I was lucky this time. Since I wanted a very minimal website, all I needed was a theme that won’t get in my way too much. So I googled “best free wordpress blog theme” and tried the first that came up. It was the Astra theme and it just happened that it was perfect for my use case. It even had some nice features I wasn’t looking for but which inspired part of the building process.
The next thing you should always do but I always almost forget is making a child theme. This is so you don’t mess up your whole website if you update your theme down the line. If you are interested, you can read more about it online but it is something that is easily done with a plugin. And that brings me to the next topic – plugins.
Plugins
I’ll list the plugins I used on this blog along with a short description of why I used them. Most of them are on every website I make.
- Coming Soon Page, Maintenance Mode & Landing Pages by SeedProd – The first plugin I always install. There is not a lot of chance for someone to stumble on this website but I always install this plugin and enable the coming soon page. It is also useful when doing maintenance on the website so people don’t see the work in progress.
- Child Theme Configurator – As mentioned earlier, you should always make a child theme and this plugin helps you do it in a couple of clicks.
- Duplicate Page – This is very useful for quickly making new pages and posts without having to always set up all the settings.
- Slimstat Analytics – I use this analytics plugin because it is easy to set up and it is GDPR compliant and I’m not sending data to Google or anyone like that.
- UpdraftPlus – Backup/Restore – BACKUP, BACKUP, BACKUP! Backup is an extremely important thing in the modern age and for stuff like this, it is necessary. UpdraftPlus is easy to set up, has a lot of options and different ways to backup your website, and does automatic periodic backups.
- Yoast SEO – SEO is important if you want your website to be discoverable and searchable. With Yoast, I do some basic SEO stuff.
- Antispam Bee – It does what it says. And since there is a lot of bots spamming on WordPress blogs, something like this is good to have.
- Redirection – Haven’t used it on this blog yet but it is often useful to manage redirections.
- WPForms Lite – I usually used Contact Form 7 but this one came installed with Hostinger’s WordPress installation so I tried it and it’s good enough for my needs for this project.
- LiteSpeed Cache – Another one that came preinstalled so I’m going to try it out.
- AddToAny Share Buttons – Adding share buttons to make it easier for people to share these posts if they are so inclined.
- Posts in Sidebar – The default posts widget in the sidebar couldn’t be set up the way I wanted it so I found this plugin.
- Social Icons Widget & Block by WPZOOM – For social icons in the sidebar
- Modula – The default gallery in WordPress doesn’t have a lot of options so I use this plugin for simple galleries
- And a couple of security-related plugins but I won’t write about them here so I don’t give up too much information about it, but there are some security measurements in place.
Front end
Now comes the fun part, making the website, pages, and posts and making it look how you want to. I tend to start by going through the theme options, seeing what there is, and setting it up. This includes finding the fonts you like and choosing the color scheme. Looking for fonts is another activity I don’t like so I usually use a third-party helper like Font Flipper and Fontjoy or I google what are good font pairings. For the color I usually start with something `i like and then refine it. A useful tool for this is Coolors, you can generate color palettes with it and play around with different color combinations.

In the first variation I was satisfied with the layout but it looked a bit empty so I added a splash of color.
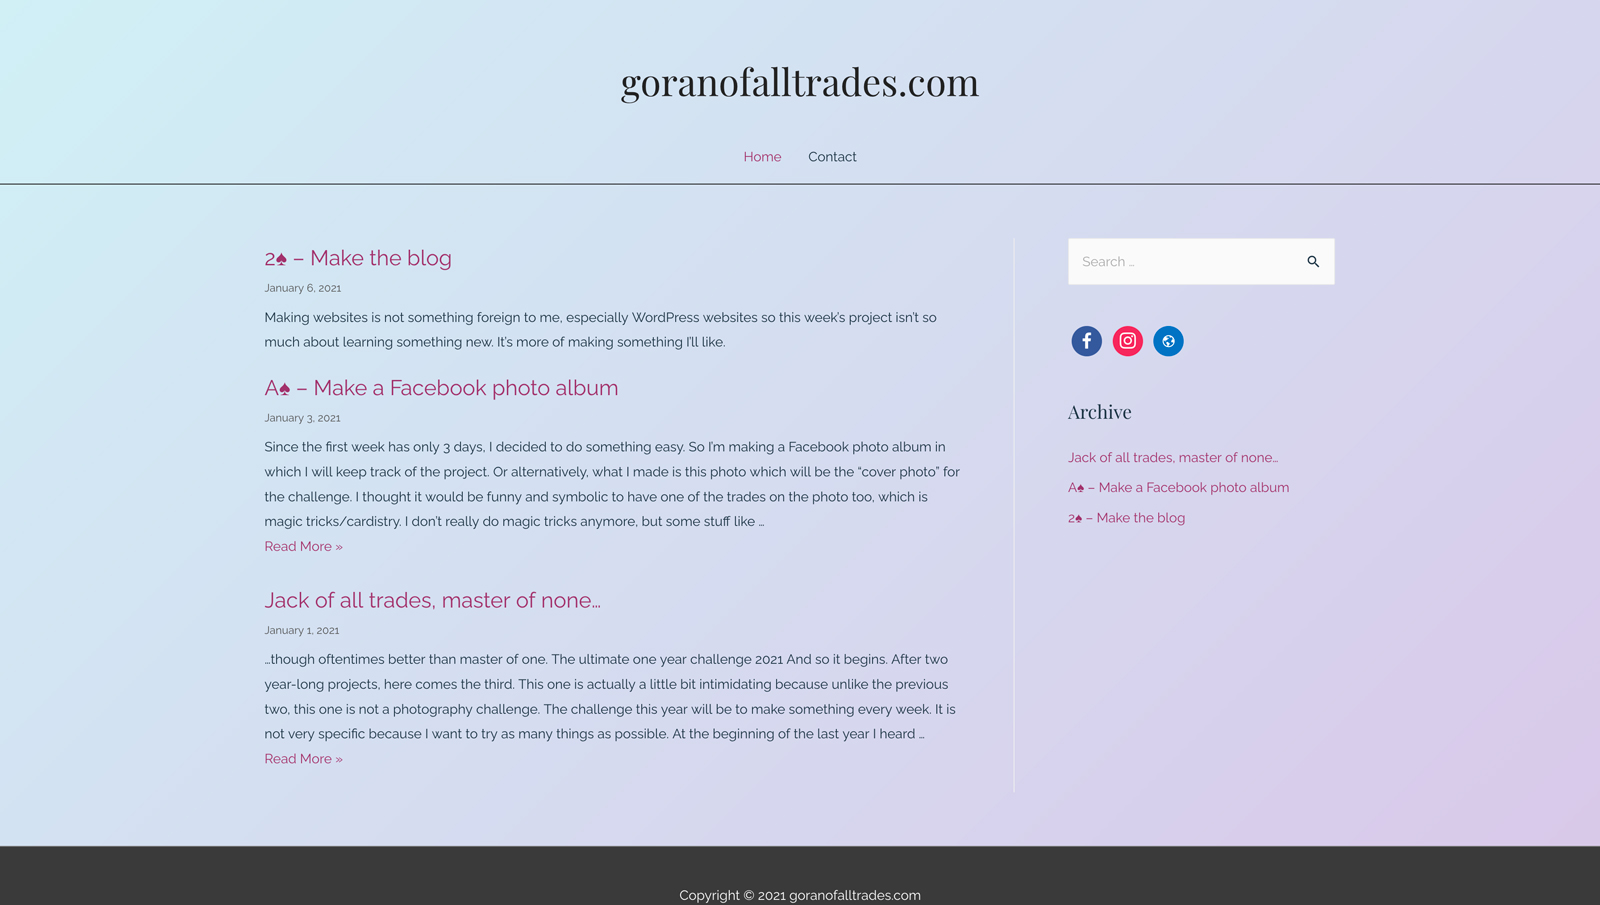
I liked this much better but through feedback, I realized that the name of the site looks a little bad so after changing that and a lot of small tweaks I came up with this.

I like to write things on masking tape and then tape it to stuff, I even give names to some of my devices and then tape their names on them with the masking tape so this logo made sense to me. I also did a lot of tweaks on the Contact page and individual posts and pages to make them just right.
And after all of that, it finally came time to write the posts. For the first two, I copied the Facebook descriptions and then edited them and added more information, and then I wrote this post from scratch. There is also a lot of small stuff that goes into this, like setting up featured images, email addresses, contact forms, but I won’t bother you with that. If you have any questions you can write to me.