Photography is one of my oldest hobbies. I got my first camera 10 years ago mostly because it looked cool and professional. It was a Fujifilm Finepix S3200. It looked like a DSLR and it had a viewfinder, which was immeasurably fun for me at that time (I still like shooting through the viewfinder more than in any other way). The next camera I got only 2 years later and it is the camera I’m still using. This time it was a real DSLR even though only an entry-level one – Nikon D5100. I went through a lot with it. I customized it to best serve my needs, I bought a couple of lenses, I even gave it a name (LightHouse Puppy). Unfortunately, it even has some battle scars, but it still functions perfectly!
Not only is this one of my oldest hobbies, but it was also part of the inspiration for this whole project. As some of you know, this is not the first time I’m doing a whole-year project. It is actually the third. The first two were photography related. For the first one, I started easy and the challenge was to take one photo every week for a year. And apparently, I didn’t think that was hard enough since the next year I upped the stakes and made the challenge to take a photo every single day for a whole year. After that, I’ve learned my lesson and I realized that something like that is way too demanding. That is why this challenge is in the form of the first one.
Anyway, since this is something I am very comfortable with, I wanted to keep it near the end of the project. One of the reasons was that I counted on it as a bit of a fallback. If I didn’t have an idea for a given week, I could always snap a photo of something. And another reason is that it isn’t challenging in the same way as something I’ve never done. In a way, it’s easier because I’m comfortable with it and I know what I’m doing. But in another way, it is way harder because I have higher standards since I know what I’m doing.
You could say I made a photo for every single project of this challenge (okay, sometimes it was a screenshot), so I find it kinda funny that this is a project for itself. So, in order to make this more interesting for myself, and hopefully you, the reader, I decided to shoot on film because that is something I don’t have very much experience with. The number of films I’ve shot is probably in the single digits. I do enjoy the look and feel of film photography and I wish I did it more, but it is crazy expensive. This project is actually one of the most expensive ones of the year and I shot only two films.
Apart from the look, I also like the process of shooting on film. This is a story I’ve heard many times, but it is true, so I will tell it. When you shoot on film, you are not just going to point and shoot anything and everything. Remember, film is expensive, and one roll usually has only 24 or 36 shots so you want to make them count. This makes you think way more about each shot and it makes you more deliberate. The result is that you will take considerably fewer shots, but they will probably be much better. Another thing specific to film photography is that you don’t see instantly what you get. This can be anxiety-inducing, but it can also be exciting. You need to have faith in yourself, and it is yet another reason to think about your shots more. I would say this makes you more present. Depending on the camera you are using, there can be another level to this. The one I used was completely manual. So you need to think about every single setting of the camera too. This is a double-edged sword. It gives you all of the control over the image you’ll end up with, but also all of the responsibility.
Part of that responsibility is being careful with the film because if you make one mistake you can ruin the whole film. You can already guess where I’m going with this. I didn’t actually plan to shoot two rolls of film for this project, but I forgot to press a button before rewinding the film, and as a result, the film got torn when I tried to rewind it. And to make things worse, I didn’t notice it, and I opened the back of the camera, and to my shock and surprise, the film was not in the canister. I closed the back immediately, but I know that if you do something like this a part of your film is definitely ruined, it is only a question of how much. I brought the camera to a photo studio worrying if anything can be saved. And as a backup, I bought another roll of film in case there isn’t anything left.
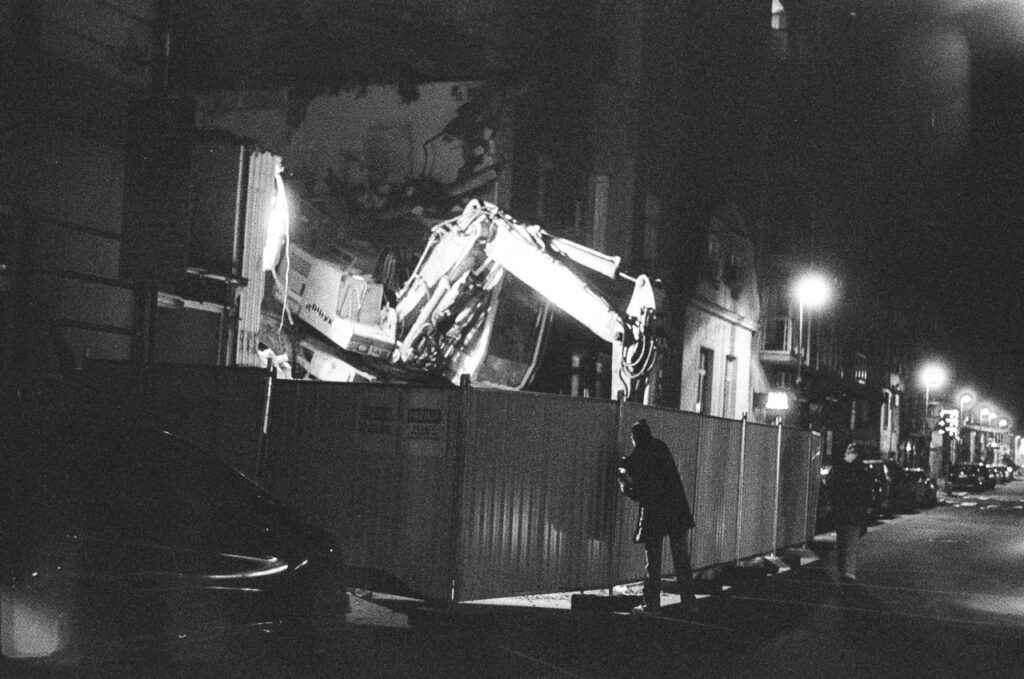
Luckily, the first film wasn’t completely ruined and I got some good shots out of it too. I uploaded a couple of the ruined shots too, just so you can see how they look. Speaking of the gallery below, it was really hard for me to decide which photo should be on the cover of this post. I’m still not sure why I chose the one I did, it just called for me. And I think it is my style. I love street photography, but a certain style of it. Since I’m a bit of an introvert, you usually won’t see close-ups of people in my photos, but I do like a human element in them. So I will usually end up with silhouettes of people in my scenes. I also like finding interesting shapes and shadows so you can see a bit of that too. And in the end, I thought it would be interesting to shoot a tango dance night (known as a milonga in the community) because I thought it would look interesting on film and because it just so happened I had the opportunity to do so. Although, I will say that tango is not really easy to shoot on film. Especially with a completely manual camera. People are moving all the time, it is dark, you need to somehow get the focus right and, last but not least, tango is one of the places where you really want to make more shots of the same thing. When people are dancing and moving in general, they won’t look great in photos at all times. So you either need to be really careful when are you going to press that shutter button and hope for the best, or to shoot a bunch of photos and still hope for the best that you caught a good moment.


Boring stuff
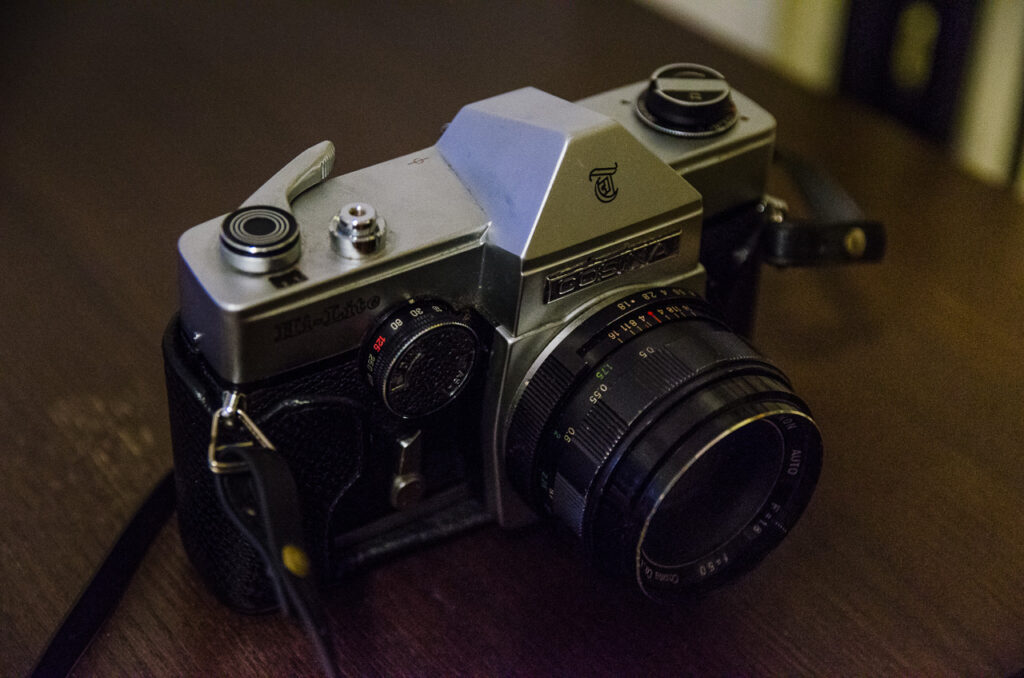
The camera
I don’t own a film camera, so I borrowed this one from a friend. It’s a Cosina Hi-Lite with a 50mm f/1.8 Cosinon lens. I don’t know much else about it except that it is fully manual. That means that you need to manually adjust the shutter speed and aperture and also advance and rewind the film. I will say that advancing the film is really satisfying to do and it has a great sound. This camera does have a light meter, which should help you with your settings, but I don’t like how it is shown in the viewfinder and I wasn’t sure how much I can trust it.
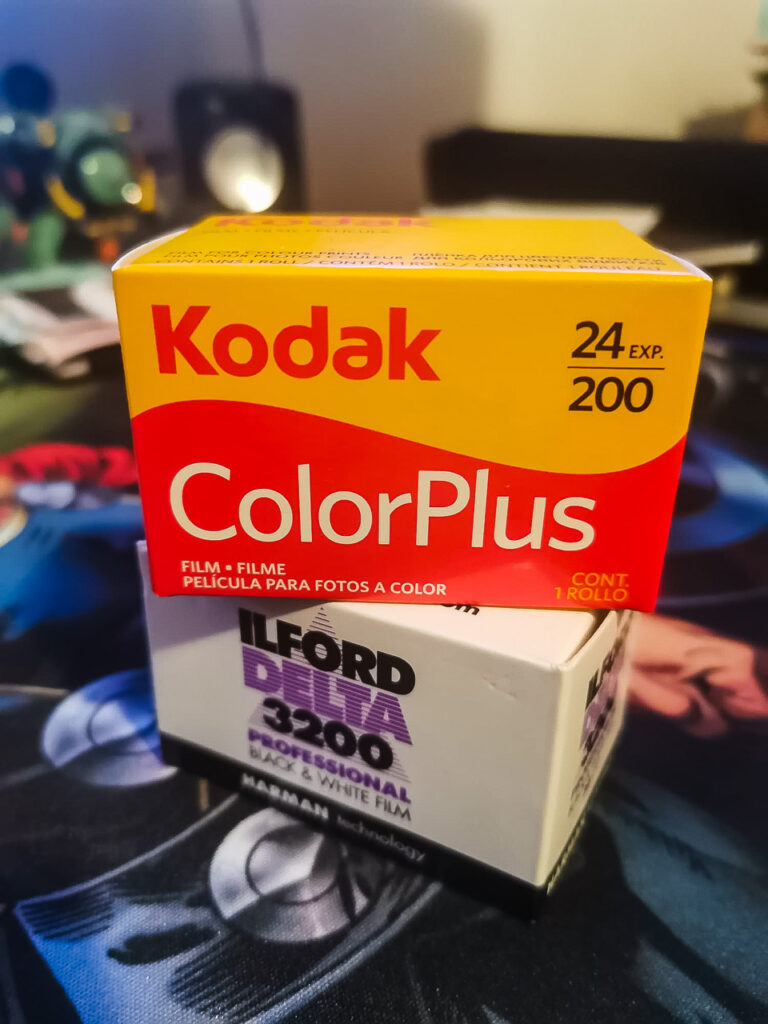
The film
Since I planned from the start to shoot street photography at night and tango, which is in very low light, I didn’t really have a choice for the film except for a one that is 3200 ASA. This is a specification for the sensitivity of the film. The higher the number, the more sensitive the film. This means that it will be better for low-light situations. It also means that it will be more grainy, but I like that aesthetic so it didn’t matter. It also means that I could only buy a black and white film with my desired sensitivity. This was not something I required, but I like shooting in black and white (I did a one-month challenge with that exact theme) so it wasn’t a problem at all. I also bought a roll of color film with lower sensitivity (200 ASA) to shoot just for fun and I am currently in the process of doing that, so you won’t see any photos from it in this post.
The shooting
As I said a couple of times already, this camera is fully manual. And since I didn’t really trust the light meter on it, I used my experience to guesstimate the right settings. It wasn’t really hard because I know that I had to basically push the camera to its limits to get good lighting. Fot the most of it I kept the aperture at f/2.8 in order to get the most light and still have a chance to catch focus. Film sensitivity is locked to 3200 so that is another parameter I can’t touch. So that leaves the shutter speed. For tango, that was another easy decision. I had to have it on the slowest speed I can to get the most light in, but where I don’t have motion blur since the dancers are moving around. That is 1/125s, or 1/60s if I’m pushing it. For street photography, I know from the experience that 1/60s will get me the results I want most of the time, and I adjusted intuitively if I noticed more or less light than usual in the scene.
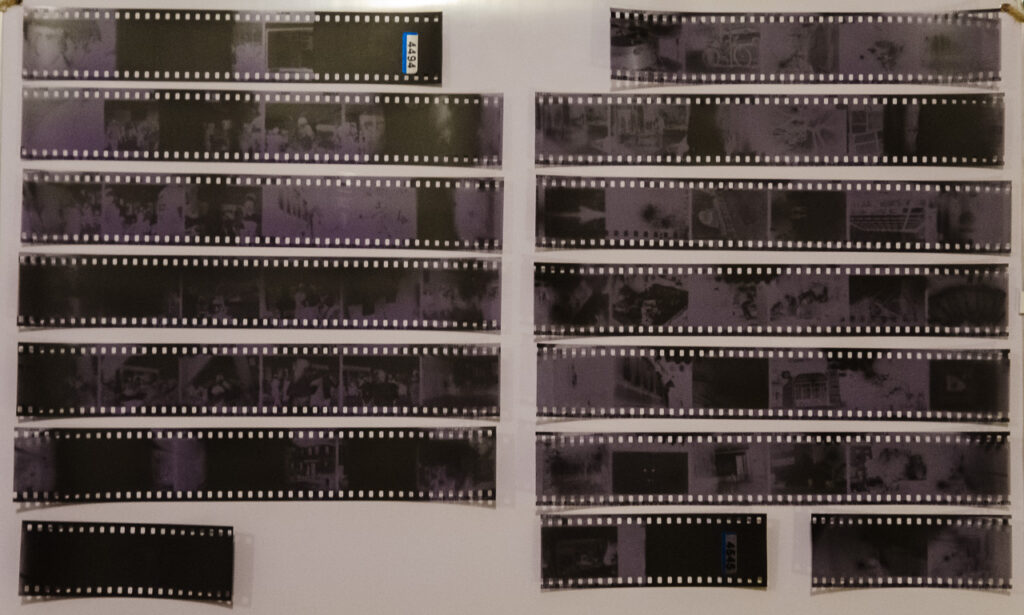
The developing
This is the most exciting part. You are waiting in suspense for the film to develop and to get the scans sent to you so you can finally see what have you made. It’s even more suspenseful if you messed up and potentially ruined a whole roll of film. You can develop the films on your own, but that is a complicated process for which you need to have very specialized equipment and chemicals and it is something I would rather leave to the professionals since it is another point at which you can ruin the whole film. Going through the photos for the first time is like opening a present.
The culling and the editing
A part that people don’t always include in the process of making a photo. Culling is one of the most important steps. In photography this means selecting which shots to show and you almost never want to show all of your shots. You should only pick the best of the best. Or in my case, because I wanted to show a more detailed look of the whole process, all of those that are decent. If I were picking just the best, I would’ve shown you only 10 photos, but this way you get 28. And for the editing, I tend not to do much when I shoot on film, but I still tweaked contrast here and there and straightened some shots, and cropped some that weren’t the best.
The publishing
I believe that art doesn’t exist without an observer, so this is a necessary part of making a photograph. I also believe the observer and what they see are the part of the art. You don’t have to publish it in a way where the whole world can or will see it, but someone needs to. I guess that in some cases that someone can even be just you.