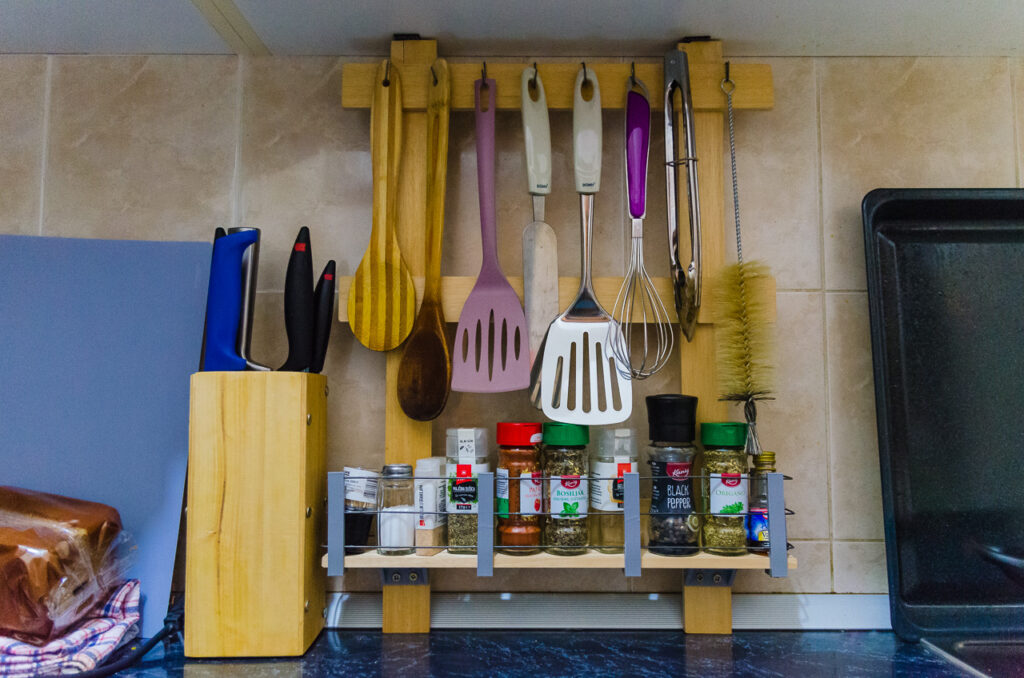
Some of my favorite projects in this challenge are those that are practical. I would’ve made this regardless of whether it was for the challenge or not. It was just something I need. Using it as the project for this week is just a bonus. The reason why I needed this is because I have a rather small kitchen and even smaller drawers which were overflowing from these large pieces of cutlery. The obvious solution is to get some hooks and attach them to the bottom of the cabinets or to the wall. But, since I’m renting this apartment, I can’t drill holes wherever I want. So I needed a renter-friendly solution.
The inspiration came when I was browsing through IKEA’s website and something caught my eye. It was this outdoor wall panel. And while that would’ve been too large for my kitchen, me being me, I immediately thought I could make my own version of it. And as an added bonus, it would also be a lot cheaper. And since I’m making my own, I could customize it any way I wanted, so I used this opportunity to make another thing I wanted to have – a spice rack. Technically, I had space for spices in the cabinets, but it’s always better when they are close at hand. The reason why this is renter-friendly is that it is not attached to anything. It is held only by friction.
Making this was really fun because I feel very comfortable with every part of the process so it was easy and enjoyable. I even had a chance to use the rotary tool I bought last week, and I was really happy I had it because it made some things way easier.
As I’ve said, this project is very practical and it will make my life easier. I can’t wait to start using it properly.
Boring stuff
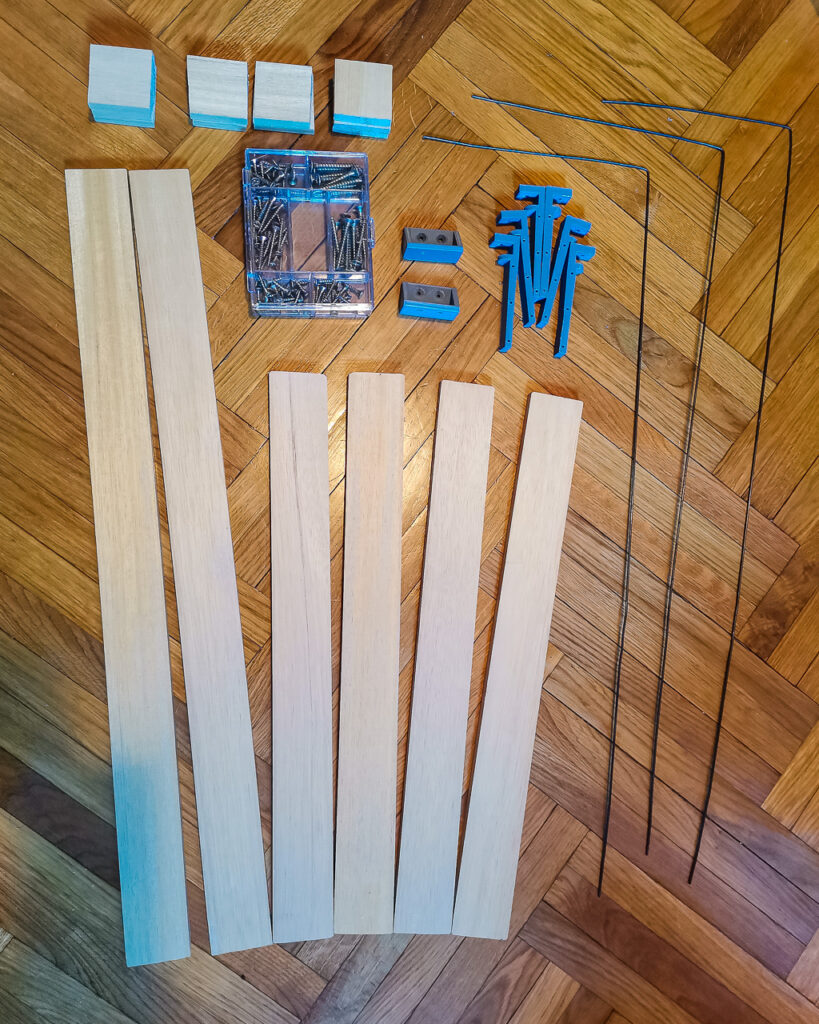
This is a really simple project, tools-wise and materials-wise. Of the materials, the only things that are necessary are wood and screws. I used wire coat hangers (from the 3rd project of this challenge) and some 3D printed parts because they make life easier. And for the tools, the only things that are necessary are a saw and a drill. I used the rotary tool, basic pliers, and a 3D printer.
I started by taking measurements and making a quick sketch.

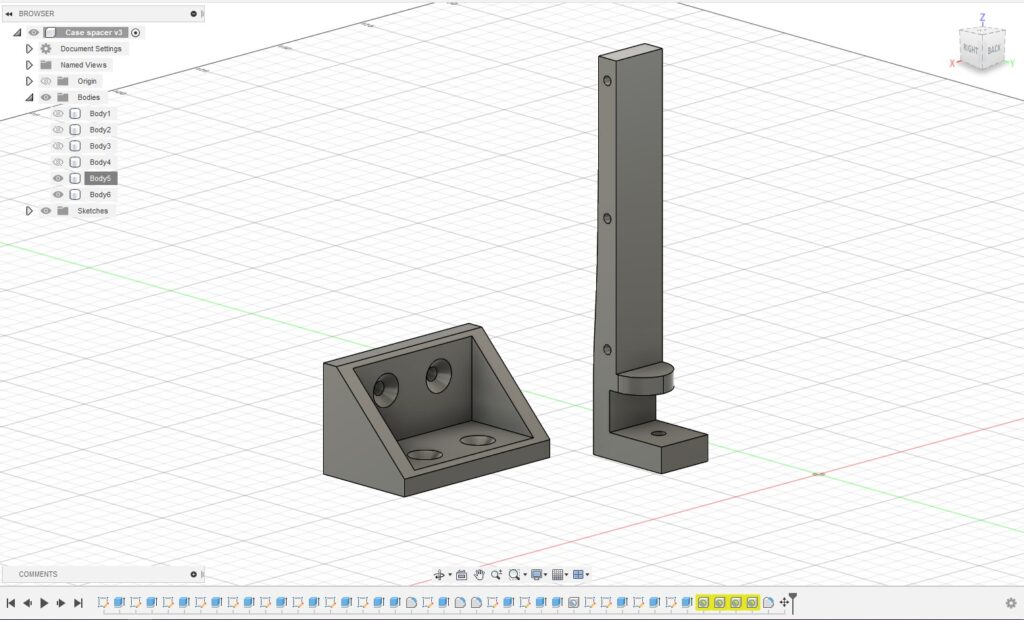
Next, I made 3D models for the spice rack support pieces and for the wire rails. This was the first thing I did because I knew that printing these will take some time. And of course, my printer thought this would be the best time to malfunction. I’m still not sure what was the problem, but it wouldn’t print well whatever I tried. In the end, I managed to get a good print, but I had to let it print over the night in order to be ready to be finished today. So I had the pleasure to sleep with the wonderful noises of a 3D printer.
After that comes a lot of woodcutting and preparing other materials, like wire coat hangers. This is not hard, but it is a bit tedious and it takes some time. Of course, it would be faster if I had something better than a small hand saw.
Then comes the final assembly. This is mostly easy and the only tricky part is the spice rack. And it is not really that tricky, just the order of operations is very important on that part.
First, I attached the top two horizontal boards to the vertical boards. Then, the board that is the back of the spice rack, but that one is on the backside of the vertical boards in order to give the spice rack more space. After that, I attached the spacers on the backside.
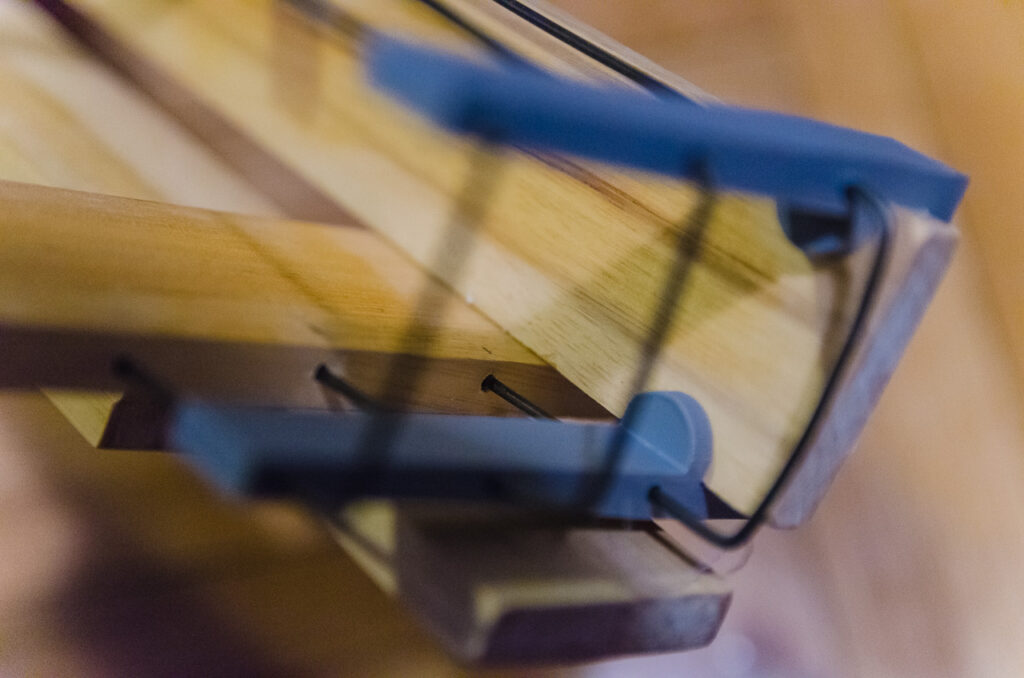
Now comes the tricky part. First I got the wires through the 3D printed parts and attached the 3D printed parts to the board. It’s important to do this first because you need to bend the wire after putting it through the parts and then they’re stuck together forever.

Then I attached the mounting parts for the shelf to the vertical boards. And then attached the spice rack to those supports.
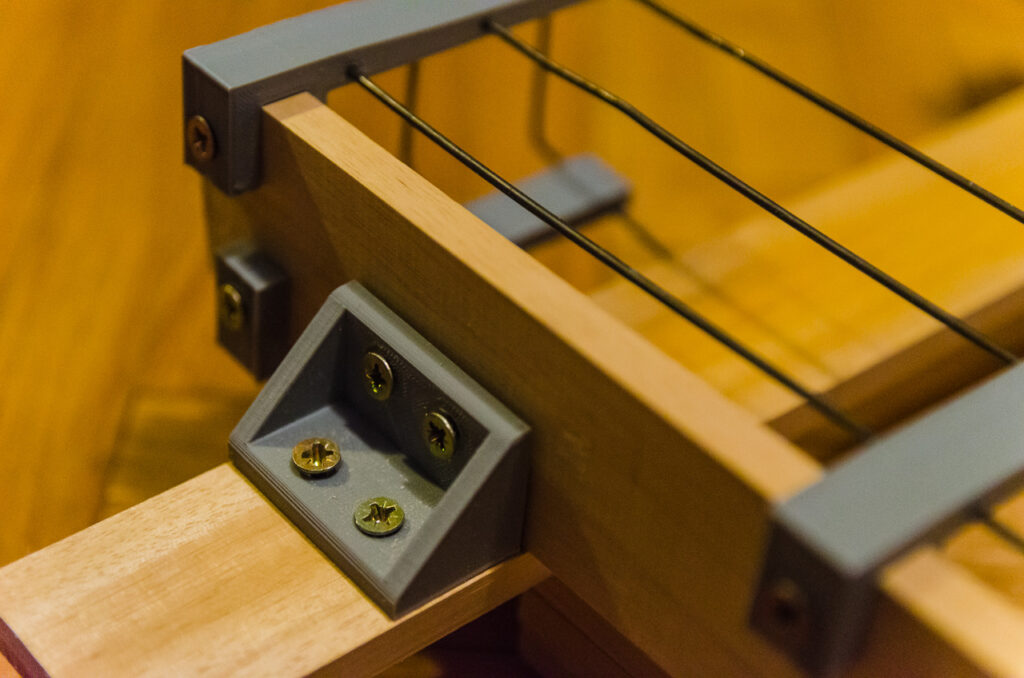
I also drilled some small holes on the side of the vertical boards to feed the wire into for a nicer finish.
The last part was just applying the linseed oil as a finish for the wood. It is the same finish I used for the knife block I made. I find it kinda nice that they are now standing side by side in the kitchen.