The idea for this comes straight from my girlfriend. She made one for me as a gift and I’ve liked it so much, I wanted to make one on my own. She also gave me a lot of useful tips. This is already one of my favorite projects of this year. It was really fun to make because it combines a lot of different things. You have woodworking, working with paper, design, and electronics.
When choosing a theme for the shadow box, the most obvious one for me was Doctor Who because you could say I’m a bit of a fan. I tried to avoid it a bit because it was too obvious but I didn’t think of anything better and I’ve actually liked this specific idea I had for the box. After that, I realized that this is actually a perfect theme for this week because tonight is the premiere of the 13th season of Doctor Who. It is also a Halloween special and the shadow box on its own looks a bit like a jack-o’-lantern.
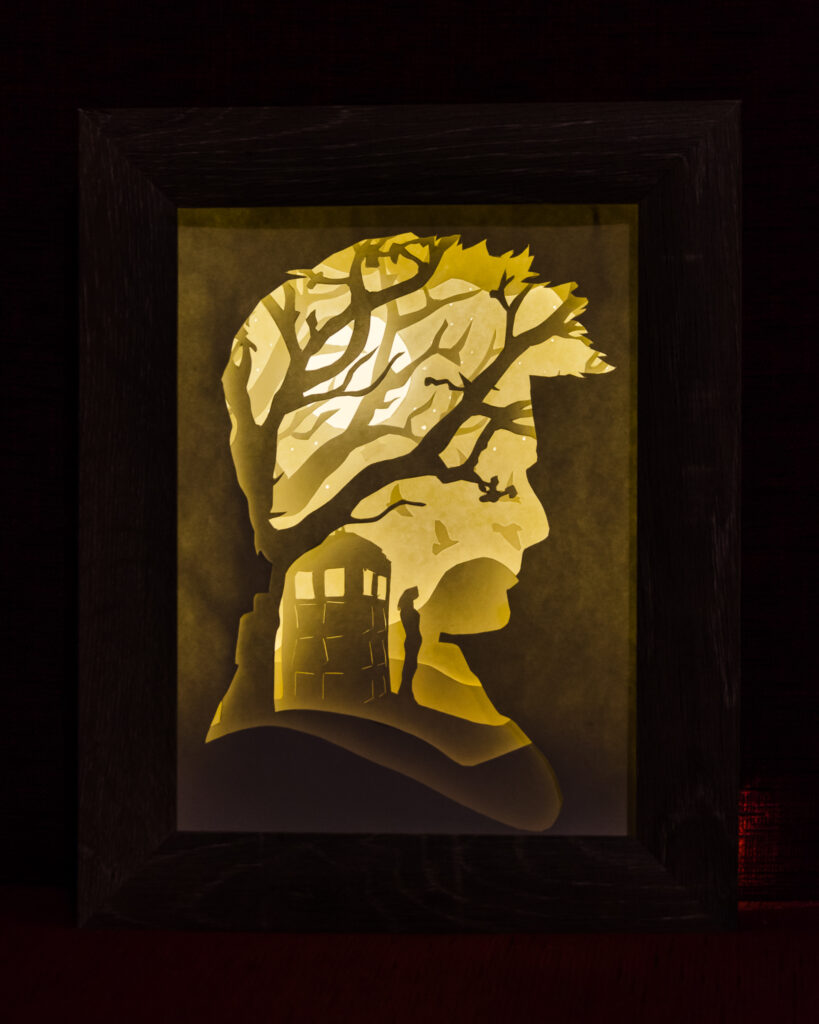
Since I wanted a silhouette of the Doctor for the first layer, I had to choose which one I want. I couldn’t really decide which Doctor is my favorite, but I chose David Tennant for this because I think he has the most distinct and recognizable silhouette. The other necessary element was of course the TARDIS and a companion. In this case Rose Tyler. The other elements are there mostly just to make the scene look nicer.
The only thing I regret was hurrying with this project because I would’ve enjoyed it more if I took my time with it. This way I finished it in a weekend, but it was a bit tight and I made some mistakes in haste. In any case, I recommend this to anyone who likes arts and crafts and making things. It is really fun to make and it can be an amazing gift, as I can confirm.
Boring stuff
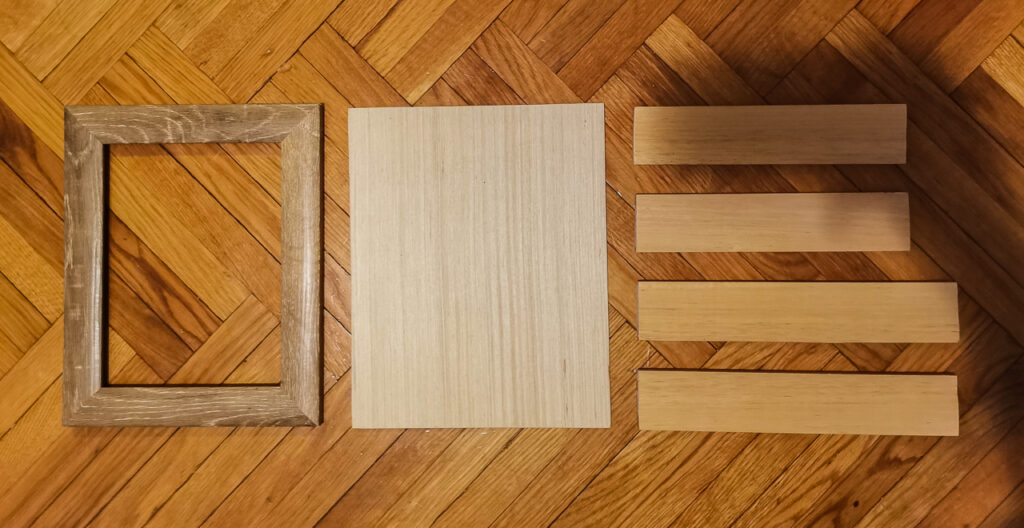
This is a project where the making process definitely can’t be called boring. I started with woodwork. I had a spare frame from the teleprompter project so I decided to use it here to add a bit of flare. I’ve cut a board to appropriate sizes so they make sides to the box, and I’ve cut the plywood to the same size as the frame for the backside of the box. And then I’ve glued the box together. I was hurrying with this part so the end result is not great, but most of my sins are behind the frame so you can’t really see them.
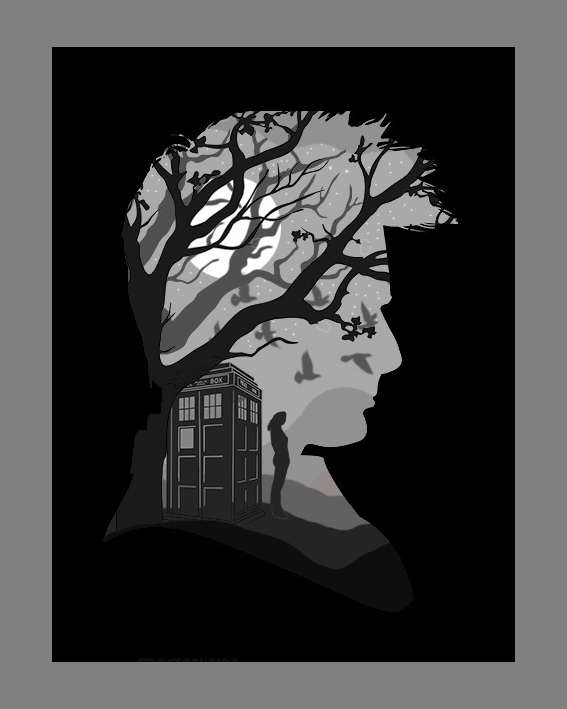
After that was one of the hardest parts, figuring out what can I make inside the box. I made a couple of sketches and settled on a Doctor Who theme. Since I’m not really good at drawing, I played to my strengths and made my design in Photoshop. This method allows you to have a really close preview of the final product. You can color the layers in different shades of grey and that simulates the layers in the shadow box.
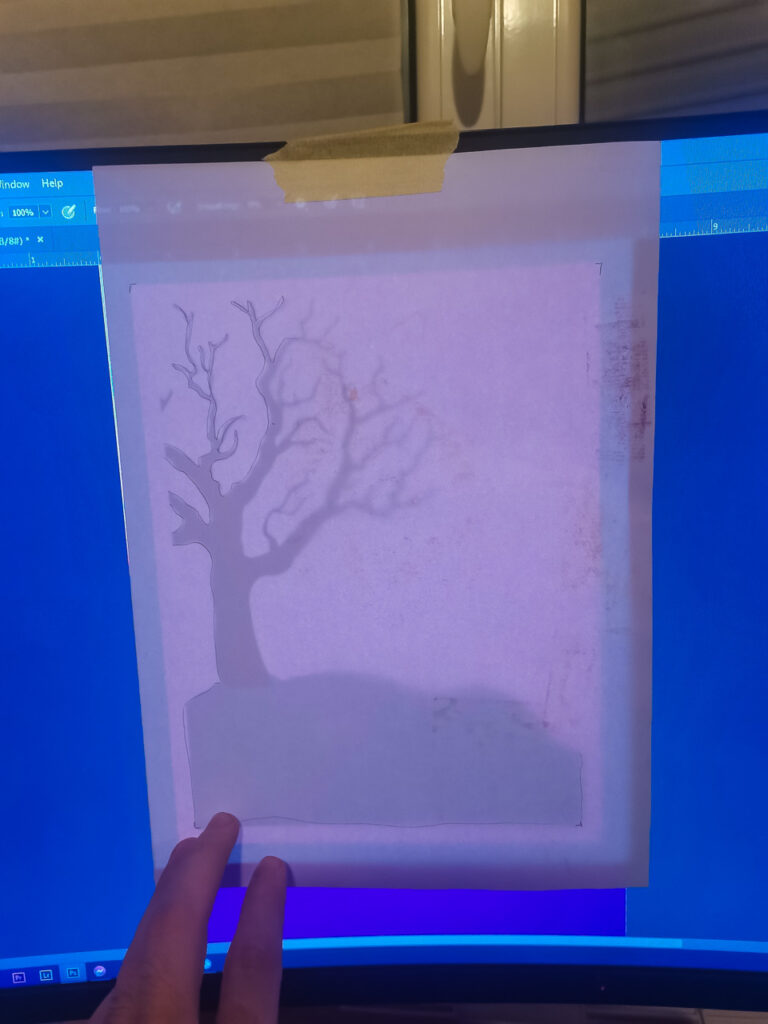
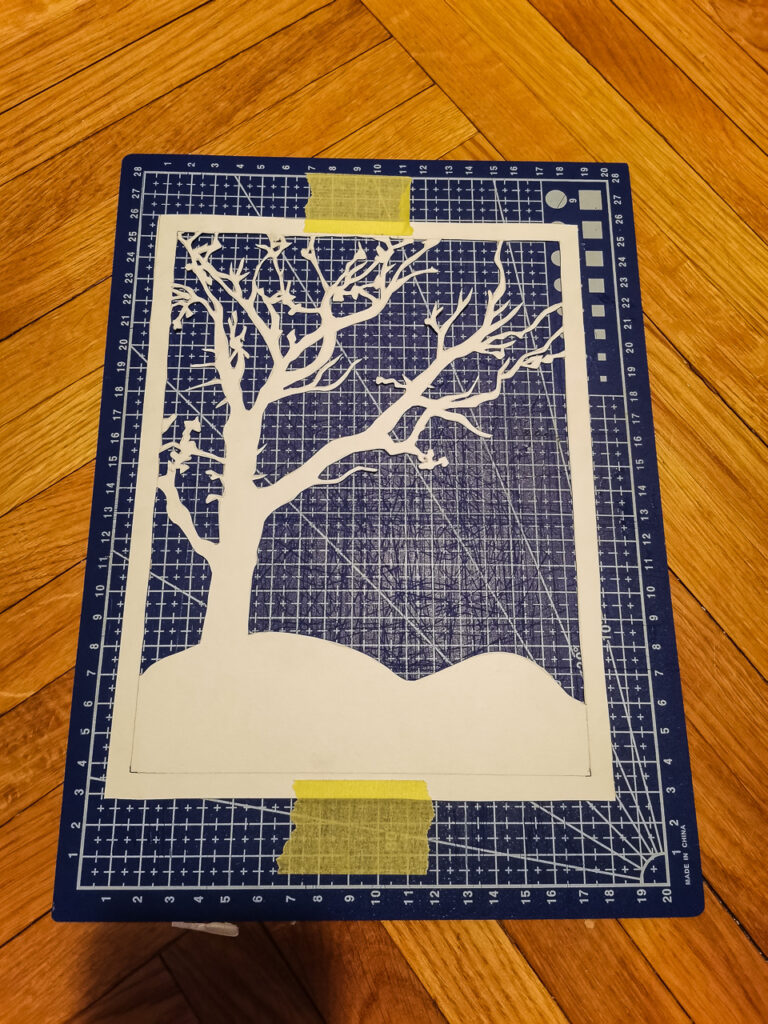
A normal person would at this point either print these layers or if they are lucky and have a Cricut (a machine for automatic paper cutting), just cut them. But, as always, I chose the most difficult option, tracing the drawings and then cutting them out by hand. I’ve zoomed in the design so the size of it fits my box in real life and then just traced it with a pencil. This is the first place I’ve regretted having a lot of details on some layers.
The cutting part was by far the longest and the hardest (after figuring out the design). The most complex layer took me 45 minutes to cut. As you can guess, this is the second part where I’ve regretted a lot of details. A tip here is to cut first the small details because they are way harder to cut out later because the structural integrity will be lower and you’ll risk tearing the paper.
After cutting everything out, there are a couple of final details. I glued the birds to one of the layers and punched through holes for the stars in the sky. And then, The final assembly can begin. I glued the layers together with foam board spacers between them. This is what gives the final effect. When I’ve glued everything together, I’ve put this block into the box. It fit a very snuggly, even a bit too snug for my taste, but nothing broke, so I’m happy with that.

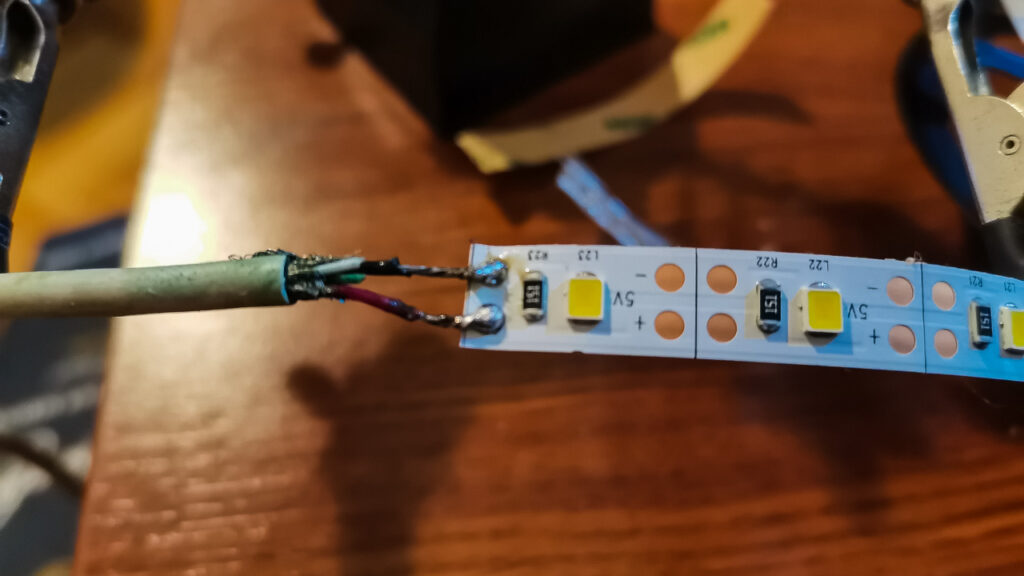
The final part is adding the lights. I’ve soldered a broken USB cable to the LED strip since it operates on 5V, which is really useful for a project like this. You can power it with a power bank or just connect it to a PC. And after that, all that is left is taping the LED strip to the inside edges of the box.
If you are a maker, this is definitely a project I would recommend. And as I can confirm, it is a wonderful gift, especially if you customize it to make it special for the person you’re gifting it to.