
3D printing is in a way so simple, but yet so magical. Not too long ago this was some crazy futuristic technology that people didn’t even believe at first. And it was expensive, really expensive. It is kinda unbelievable how much this technology improved in the last 10 years or so.
For somebody who likes to make things, 3D printer is a well of endless possibilities. Everything that you wished to improve or make but didn’t know how or didn’t have the tools, for now, becomes possible. I can’t exactly remember how long I wanted to have one, but they were always too expensive. At some point last year, I stumbled upon DIY 3D printers and I added that to the list of ideas for this project. I researched it a bit and it wouldn’t end up being too expensive to make one on your own. So a few months ago I looked a bit more closely into it and I was surprised to find Creality Ender 3. I was searching individual parts and adding up how much would it cost me to buy them and then it ended up cheaper to buy a finished product. I knew there were cheap 3D printers out there, but when I was looking at them previously, they were that cheap for a reason. They weren’t really good. Ender 3 is a different story. It is the most sold 3D printer in the world for a reason. It’s cheap, crazy cheap considering what you get, and it is actually good. The print quality is really good. That paired with it being open source gives it even more value, because now there is a huge community improving this already great product. Whatever you want or whatever is wrong with yours, somebody else already figured it out.
This was supposed to be a very different week of this project. This way, I’m not sure it even counts as making something, as I said in the title, it’s more of an assembling process. But considering this comes as a kit, the main difference between this and making my own is sourcing the parts. If I was making my own I would’ve had to find every single part on my own and probably wait for months to have them delivered from AliExpress. And then probably not to have all of them delivered because that’s what happens with AliExpress sometimes. The other big difference is the tools. If I was making it by myself, I wouldn’t have all the tools I need. This kit comes with all the holes drilled and tapped and all the necessary screws and Allen keys to assemble it. And the final difference is that with the kit I can be way more sure that in the end, it’ll end up working well.
I made a couple of small things and some upgrades for the printer itself but my 3D printing adventures are just starting. I wouldn’t be surprised if a lot of my future projects contained something 3D printed.
Boring stuff
Assembling this was really easy, it is a bit like assembling IKEA furniture. The kit is really well thought out so it’s mostly just screwing screws in a defined order. The instructions are mostly good, although they made me do a certain step twice. All in all it took me less than two hours from starting the assembly to having my first print on it’s way. It would be even faster if it weren’t my first time doing it.
As I mentioned, there is a huge community for these printers and I watched a couple of videos to help me set everything up. One of the YouTube channels that have great beginner guides is Teaching Tech.
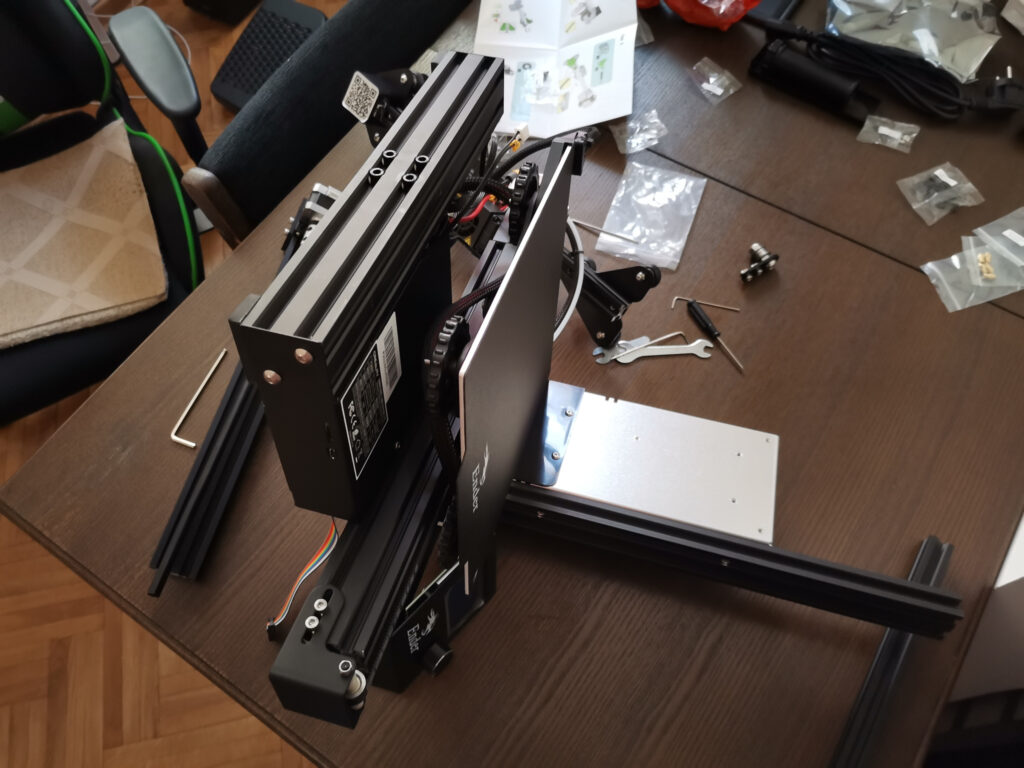
I didn’t take a lot of photos during the assembly because I was too excited to do it as soon as possible. This one is made in the moment I realized that some cables got tangled up and I had to disassemble a couple of things to free them up.

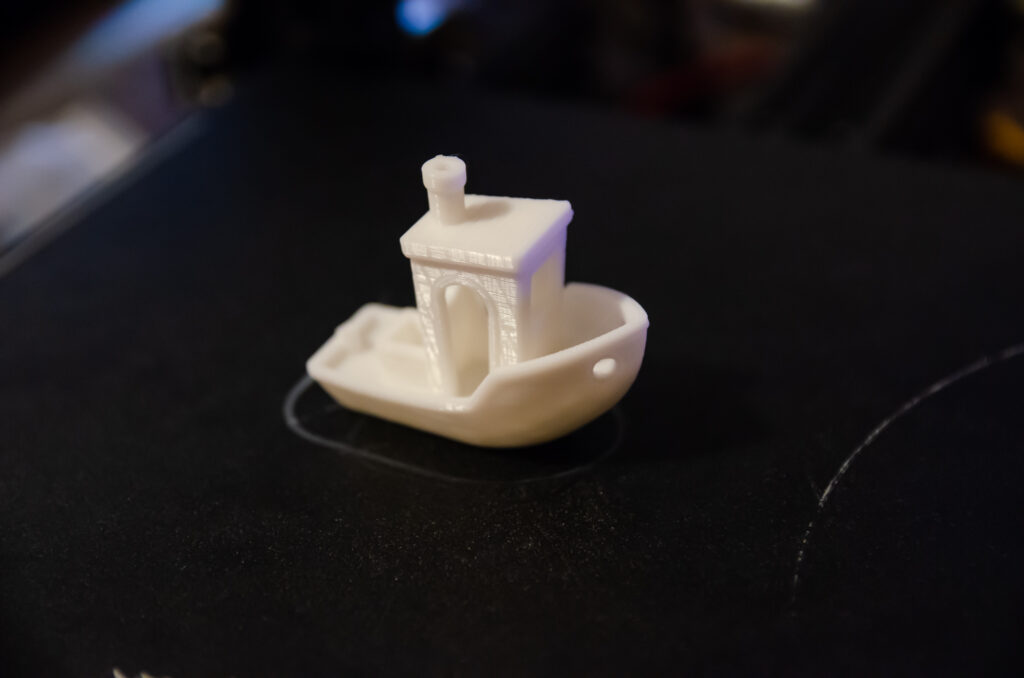
And here is the printer already assembled and after a couple of prints. It is worth noting that I ended up with Ender 3 Pro and I got a couple extras with it, a glass bed, which I already love, and some extra nozzles.
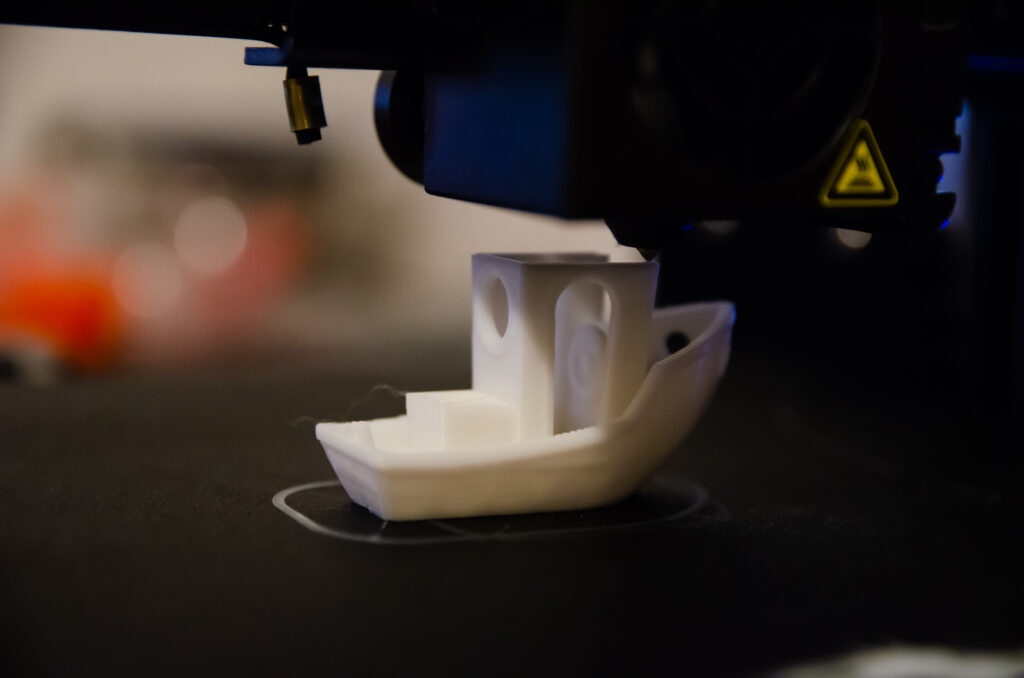
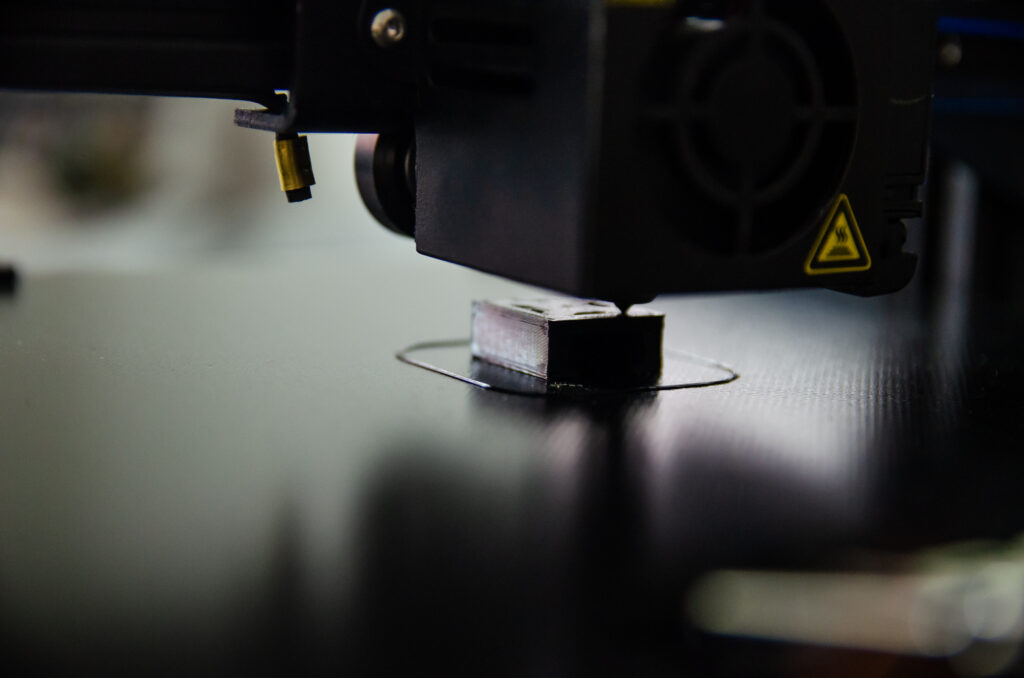
For the first couple of prints I was just sitting next to the printer mesmerized by what it was doing.
Pingback: How much does a GoaT cost? - goranofalltrades.com