First of all, a buttonhole can’t really be bespoke because bespoke means “made to measure” so the only measure you can use is the size of the button. But, when you talk about bespoke tailoring, there is also the term “true bespoke” and that term includes sewing techniques used to make the garment. Handmade buttonholes are a part of true bespoke tailoring. The reason for making them by hand isn’t because they are pretentious or showing off or anything like that. (okay, they probably are a little) Handmade buttonholes are prettier, stronger and show tailor’s skills and attention to detail. There are so many difficult bespoke tailoring techniques: drafting the pattern, cutting the fabric, pattern matching, sewing the floating canvas, rolled collar, and hand-stitching almost everything. Among all those techniques, sewing the buttonholes may be the easiest one, but don’t let that fool you. Even if it is the easiest, it doesn’t mean it’s easy in any way. The buttonhole stitch itself is not hard, but it demands a lot of practice and a steady hand.
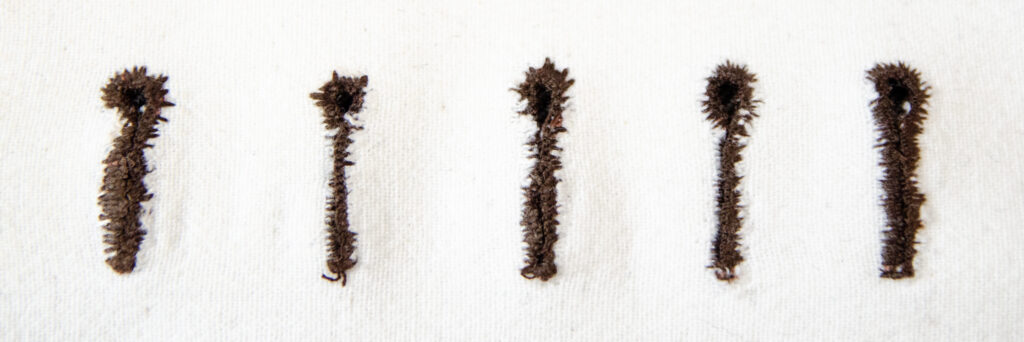
They say you need to sew 100 buttonholes to learn to sew them and after making only seven of them, I can wholeheartedly agree. You can see the progress in my buttonholes, but even the final one looks messy and uneven. Even though I was sewing them probably two or three times slower than someone with experience, I still couldn’t be as precise as them.
There are three reasons why I chose to sew a buttonhole this week:
- My dream is to make a complete bespoke suit one day. But, since I haven’t yet tried any of the bespoke techniques, this looked like a good place to start.
- I wanted to highlight how something seemingly so small can be beautiful and complex. A buttonhole is probably something you wouldn’t even notice if you were looking at a suit, but there is so much work invested in it being perfect. Also, this is something I often think about – how something simple can be so much harder than something seemingly complicated. Here is what I mean by that, the simpler the technique the more attention to detail and skill you need to make it perfect. There is no space to hide your mistakes, if it’s not perfect, it will be noticed.
- I knew this week is going to be very busy for me, so I needed something that can be done fairly quickly. If I wanted to actually make a perfect buttonhole, even a completely free week wouldn’t be enough to practice it.
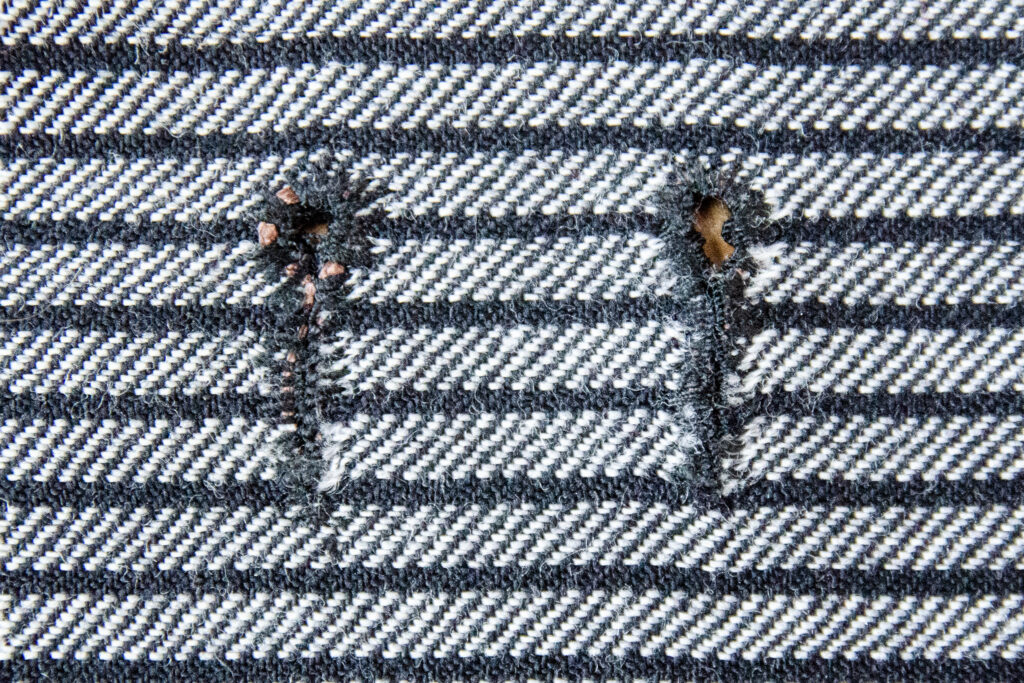
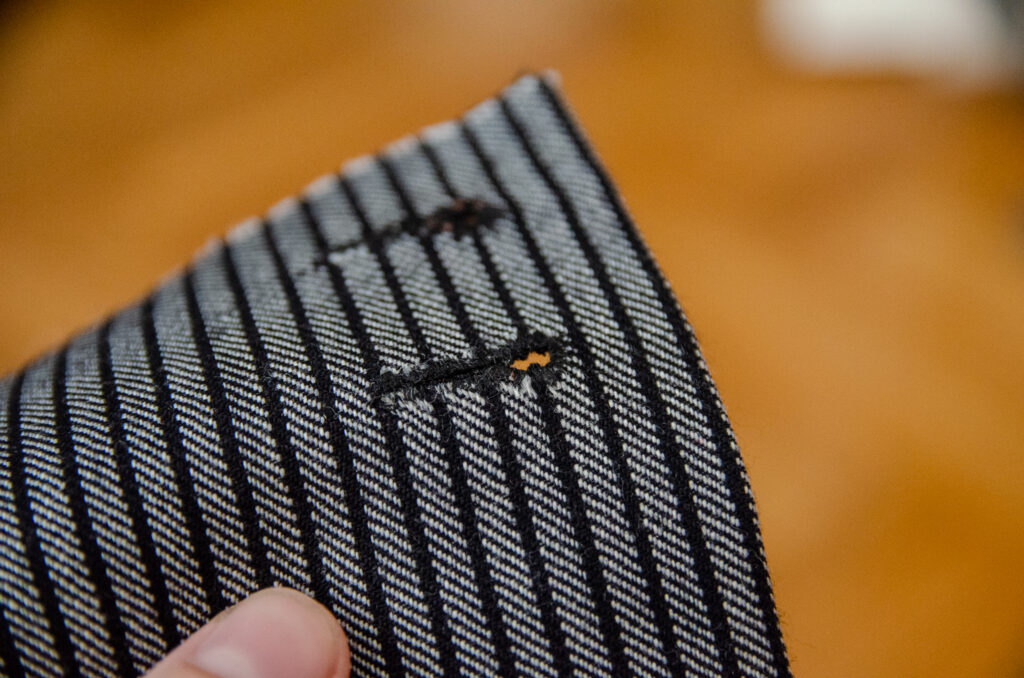
Ideally, you would use a gimp that is the same color as the fabric and the thread but I only had brown so you can see it peeking through. Although on the seventh try you can’t really see it because I was much more careful and my stitches are closer together.
Boring stuff
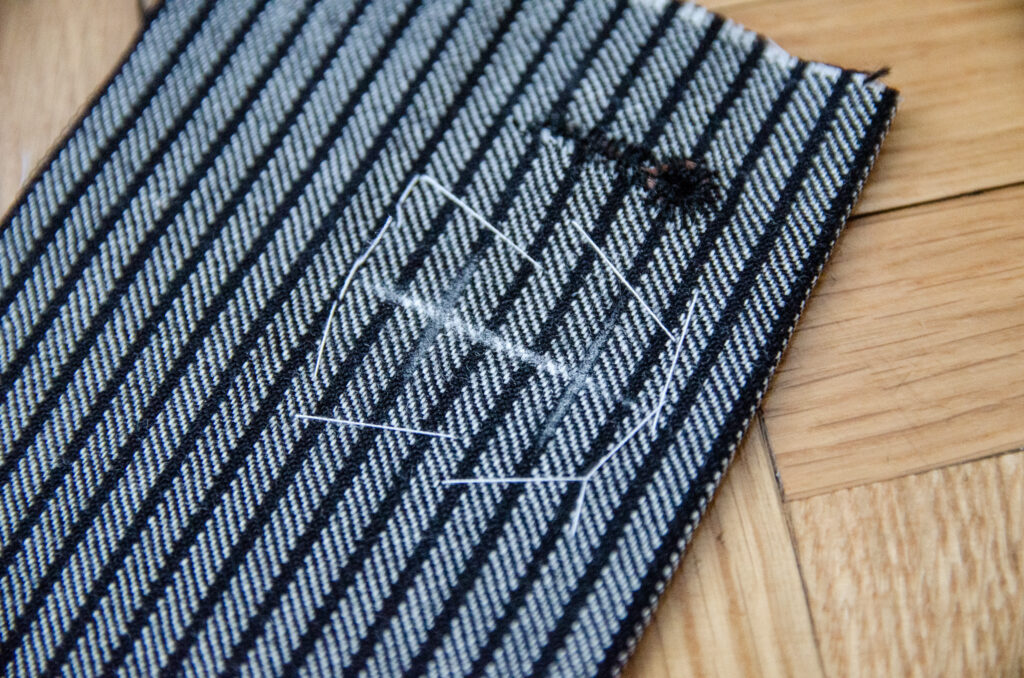
The technique here looks deceptively easy. There is basically just a single stitch you repeat over and over again. The execution is the problem in this case. I didn’t have any specific project where I needed buttonholes so I just took a scrap piece of fabric, interfaced it and folded it in half to simulate how it would work on a real garment.
You start by marking where you want your buttonhole and then basting the fabric around it. Basting means making a small number of long stitches just to hold the fabric in place while you’re working on it.
After that, you punch out a hole at the end of your line and then cut the fabric on the line. The circular hole is a recognizable feature of a handmade buttonhole. Additionally to looking good, it also gives the button a place to securely rest when buttoned up. It really gives a beautiful shape to the buttonhole. When you cut the hole, you should also overlock stitch the edges so the fabric will stay together and not fray.
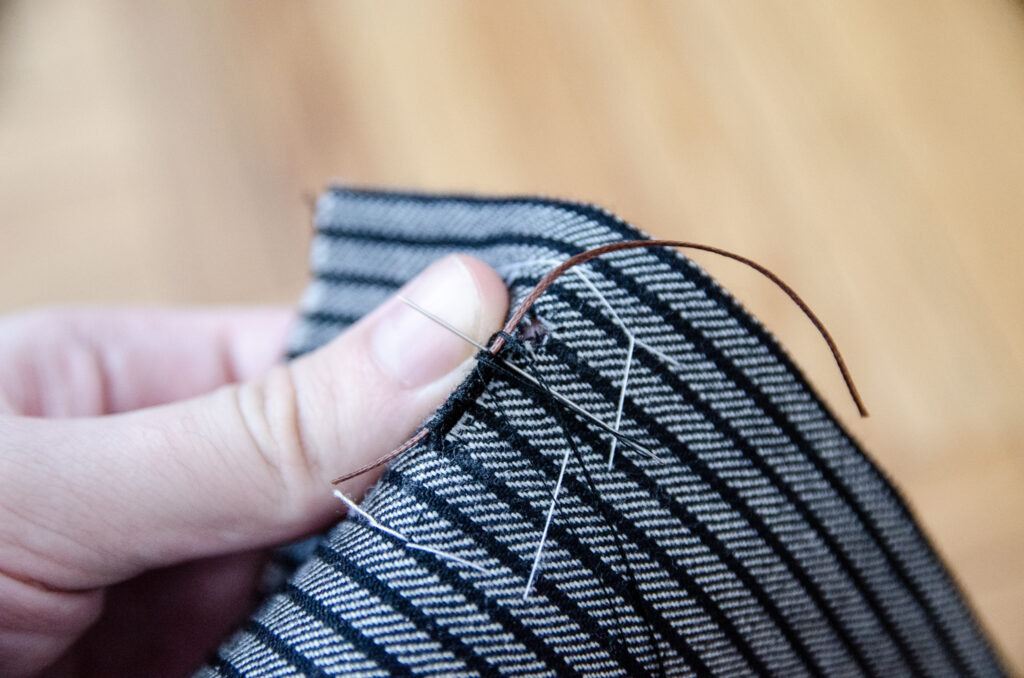
Now comes the hard part, sewing the actual buttonhole. Here, we use gimp (a thick thread that strengthens the hole and gives a body to the edge) and sew it alongside the edge. This is a part that is hard to describe with words so here is the tutorial I used. I had a couple of issues with my materials here. One is that I don’t have a gimp thread so I used a waxed thread I have from the leathermaking project. I believe this didn’t make a large difference but maybe it would’ve been better if I had it. The main problem was that the thread I used is flat. And the other problem is that the thread I used for sawing was really thin. For the real buttonholes, you want to use silk thread. I of course don’t have that so I used some cheap polyester thread I have. I tried making a buttonhole twist thread, to at least make it thicker, but that caused more problems than it solved. The thread would bunch up when pulling it through the fabric and it would make knots. In the end, I used just a basic single thread which meant that I had to do a lot more stitches to cover up the gimp completely. However, the old saying “poor craftsman blames his tools” will always be correct and I know that if I was a master tailor, these buttonholes would’ve looked much better even with these threads.
If the threads were color-matched, it would hide some of the mess on these buttonholes, but that is exactly why I chose contracting fabric here, so I can see where I am making the mistakes.