The interesting thing about challenges like this is that you get really aware of how time passes. I am now just over half of the challenge and that means that it’s already half of the year. Yes, let that sink in. We are already in the middle of 2021. I don’t know if it will ever stop surprising me how fast time passes. And it’s a little bit weird how I don’t have the feeling I already finished half of this challenge. At the same time I feel like there is a lot more I have to do and a bit of relief because I already finished half of it.
This is another project where I am modding my PC. Even though I try to do as many different things as possible, some themes will unavoidably show up more than others. I don’t really have some deeper reasons for modding my PC except that it looks cool and it is fun to do. When it comes to cable sleeving, that is one of the most often done mods because you can find cool cables for cheap and they can massively improve the look of your PC. These days, cables that come with the power supply are most often black, unlike the famous “ketchup and mustard” cables of the past, so they are not ugly, but they don’t stand out either.
Even though you can buy cables for cheap, I decided to go for the DIY version because of a couple of things.
1. It’s cheaper;
2. You have more choice when it comes to colors and lengths of your cables;
3. I do like DIY and it’s a good project for this challenge.
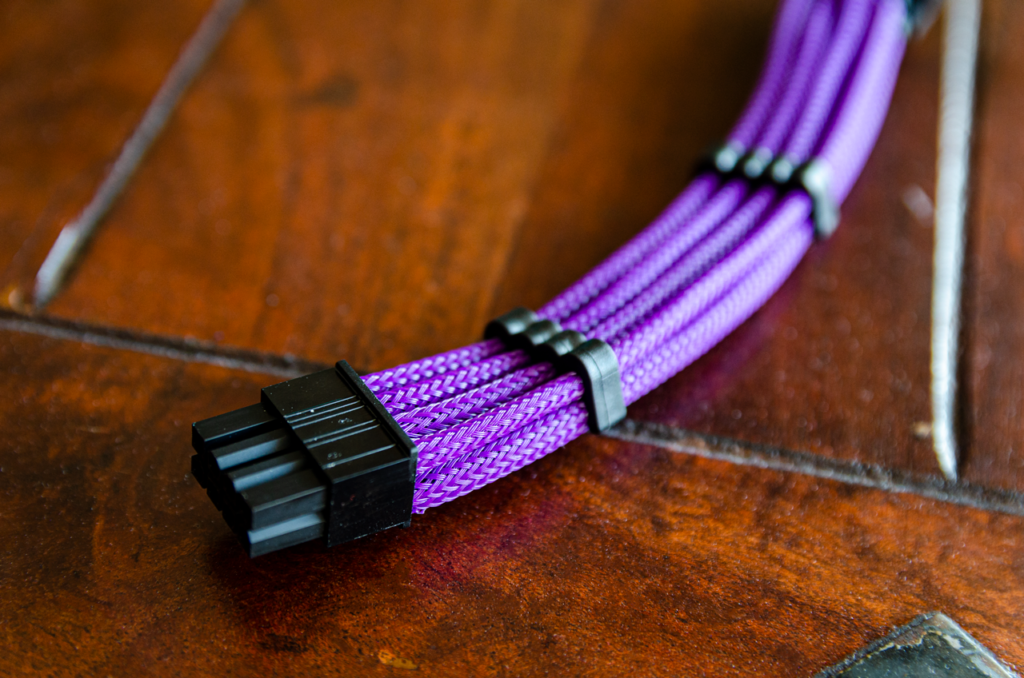
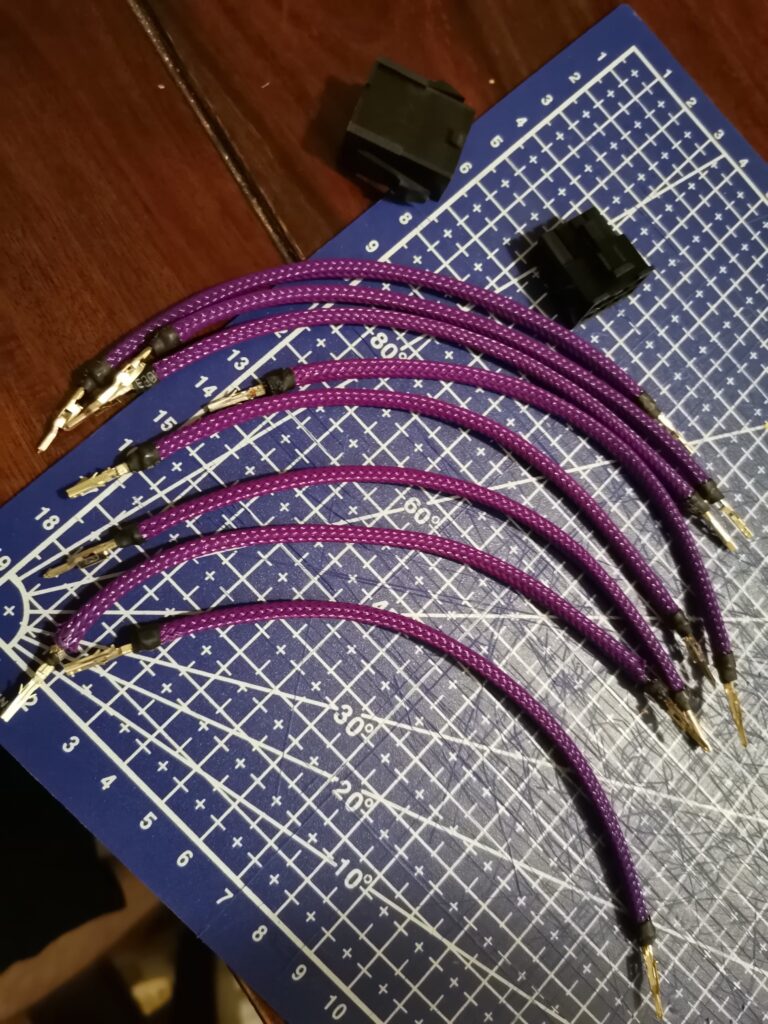
I chose purple as a theme for my PC because am partial to that color in recent times, so I ordered purple sleeving, but because I didn’t measure how much I need I ordered way less than I need. Anyway, that’s just one of the mistakes in this project, and I’ll talk about others in the boring stuff. However, due to those mistakes, I ended up with a cable I don’t trust enough to actually use. The cable I made looks great, so I would like to try this project again if I obtain the proper tools I was missing this time.
Boring stuff
Sleeving cables is fun, but I was wrong to assume that it can be done well without proper tools. The two main tools I was missing were crimping pliers and a pin extractor. I tried to replace the crimping pliers with needle nose pliers and while that technically did work, the connection I got between the pin and the wire wasn’t that secure. Not secure enough to actually trust this cable to put it in my PC. And without a pin extractor, it’s nightmare getting pins out when you mess up. I did it with some needles and a thin piece of metal but it’s really tricky to get it right.
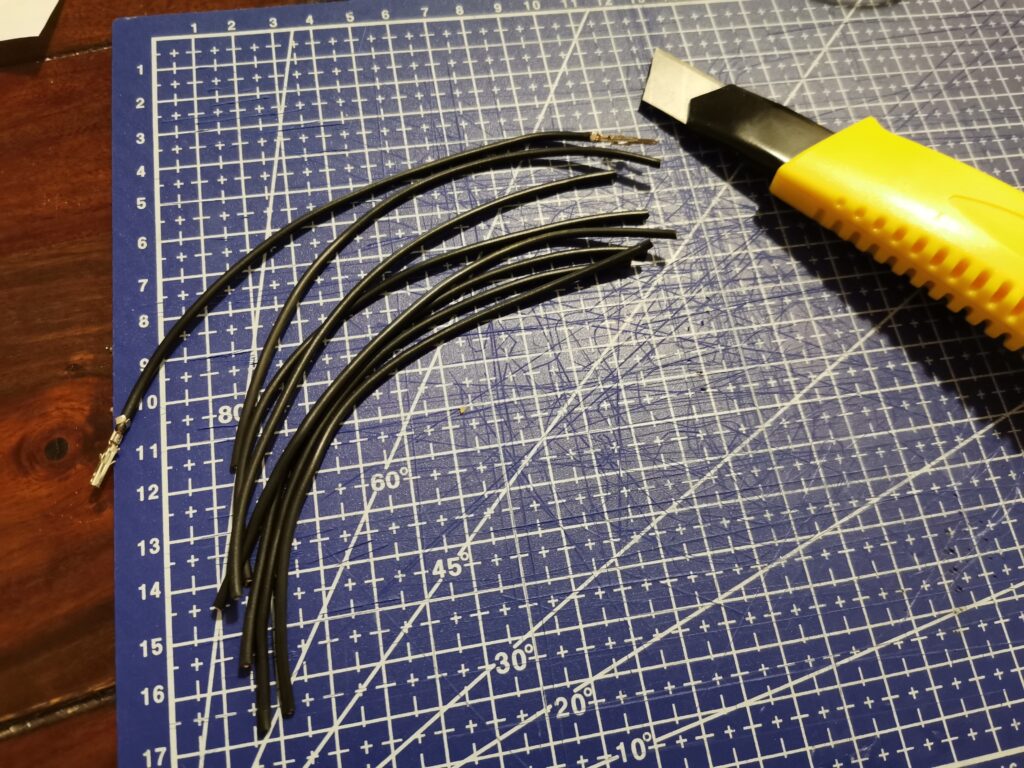
The process itself isn’t that hard. You start by cutting the wire to size. This depends on how long you want your particular cable to be. I put myself in a bad spot because I didn’t order enough sleeving for an 8 pin and a 24 pin cable. When I was ordering it I was thinking “5 meters is surely enough” but it very much wasn’t. So the lesson here is to measure and calculate how much sleeving you need before you buy it. The consequence of this was that I had to make the cables shorter and probably too short for my case. Another thing you should keep in mind when cutting the wires is that if you have a curve in your cable run, you should make the wires on the outside of the curve longer than those on the inside.
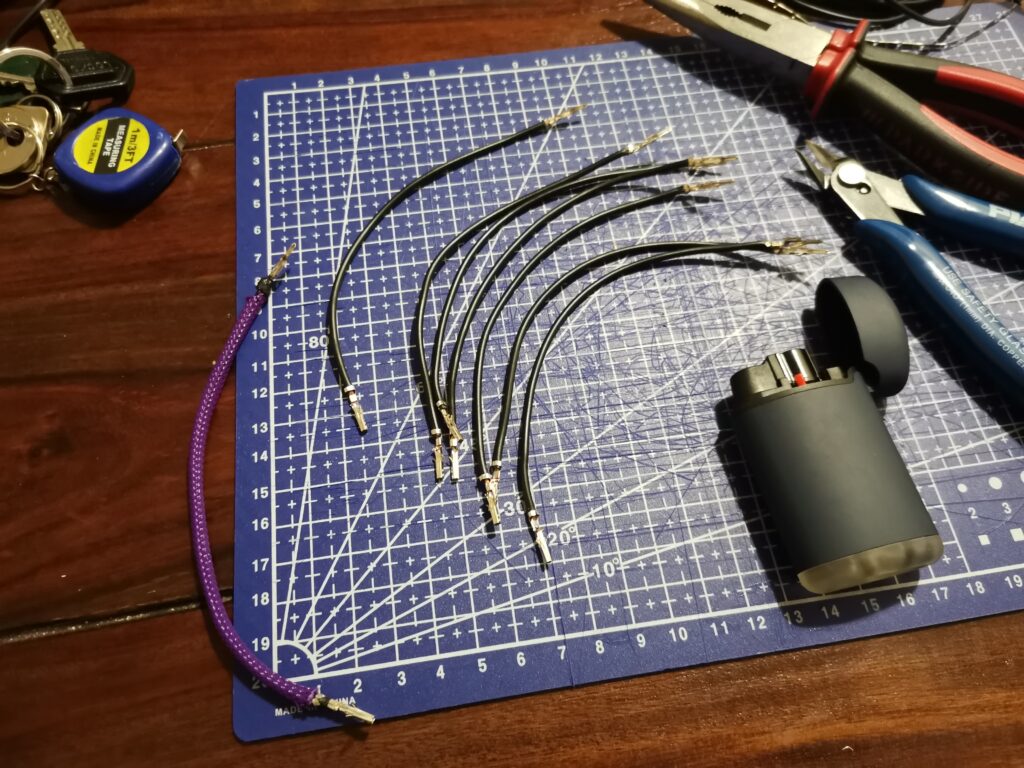
After that, you need to strip 3mm of the ends of the wire and crimp the pins to the wire. As I’ve mentioned, I used needle nose pliers for crimping, and while at first glance it looked like they did a good job, in the next steps I realized it’s not as secure as necessary because the pins would fall off the wire.
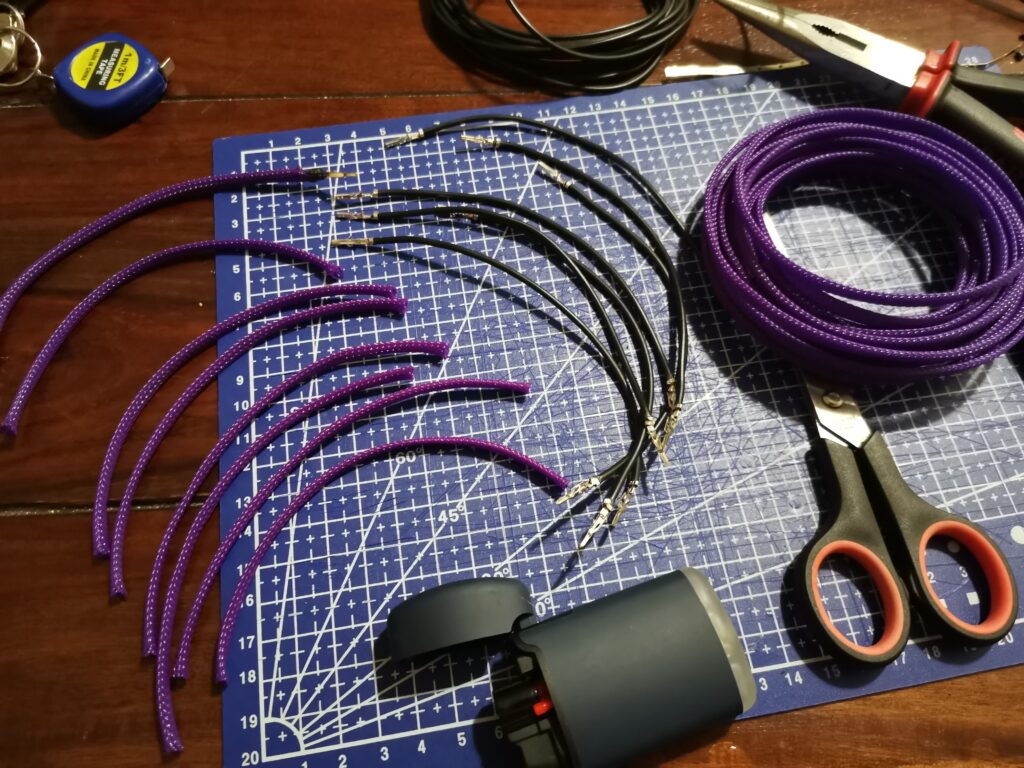
After the crimping comes measuring and cutting the sleeving. And then putting the sleeving over the wires with some heat-shrink tubing to secure the ends. There is a technique where you shrink only a small part and then cut off the rest but I wasn’t successful with it. In theory, it gives prettier results, but not if you don’t succeed.
The final part should be the easiest and the most satisfying but due to those weak connections, it was the most frustrating. What is supposed to happen is that you just insert pins into connectors carefully so the right pin goes into the right hole and in the right direction. But, what really happened was that I would insert the pin and then the wire would slip out, but the pin would be stuck. So without the pin remover tool, it was really hard and annoying to remove those pins. In the end, I somehow managed to insert all the pins properly, but due to the problems I had, in the end, I don’t trust this cable enough to put it in my PC.
