
Nail and string artwork is another “art form” I have already tried out before this project as I find it fun and because I made it as a gift for someone. It just looks very cool and it involves a lot of subtle handiwork, which I am a big fan of, as I’ve already mentioned various times on this blog 😀
It’s basically all in the name – a board with nails attached to it, with strings forming a thick web in any shape you desire. That’s what makes it very versatile and a great vehicle for creativity. It can also be a very successful business, which I found out upon discovering a popular Instagram profile that makes and sells these.
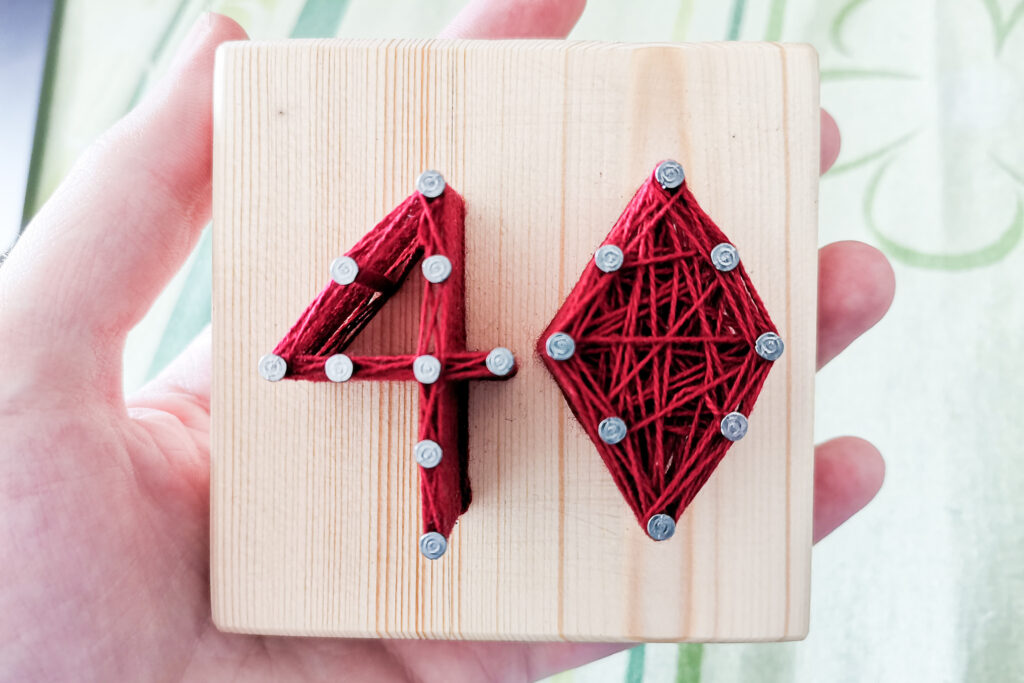
As for the design, I had no particular idea for it, nor a purpose for the end product in mind, so I found it both fun and funny to make this week’s symbols – and perhaps I can repurpose it for someone’s 40th-birthday gift at some point.
Boring stuff
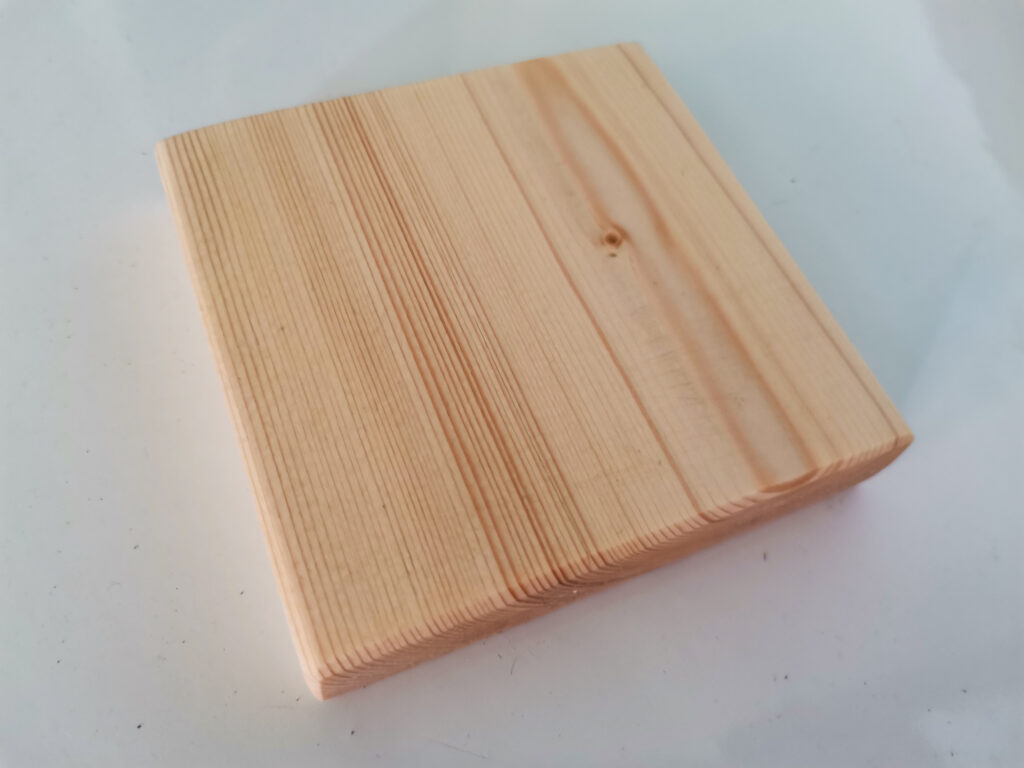
When it comes to materials for this project, it’s as easy as it comes. All you need are nails, someplace to hammer them in, and string. I used a piece of wood from the last week’s project and nails and string I still had from my last project of this type. Nails are about 3cm long and string is just some cheap and kinda thick string from a Chinese dollar shop.
The first step is to prepare the wood. If you want to paint it, cut it, stain it, or anything like that you need to do it first because later is much harder or impossible. I cut the wood, unevenly, and sanded the sides a lot. In part to straighten them, but also to make them smooth. I also stained the wood with the same linen oil from the last week.
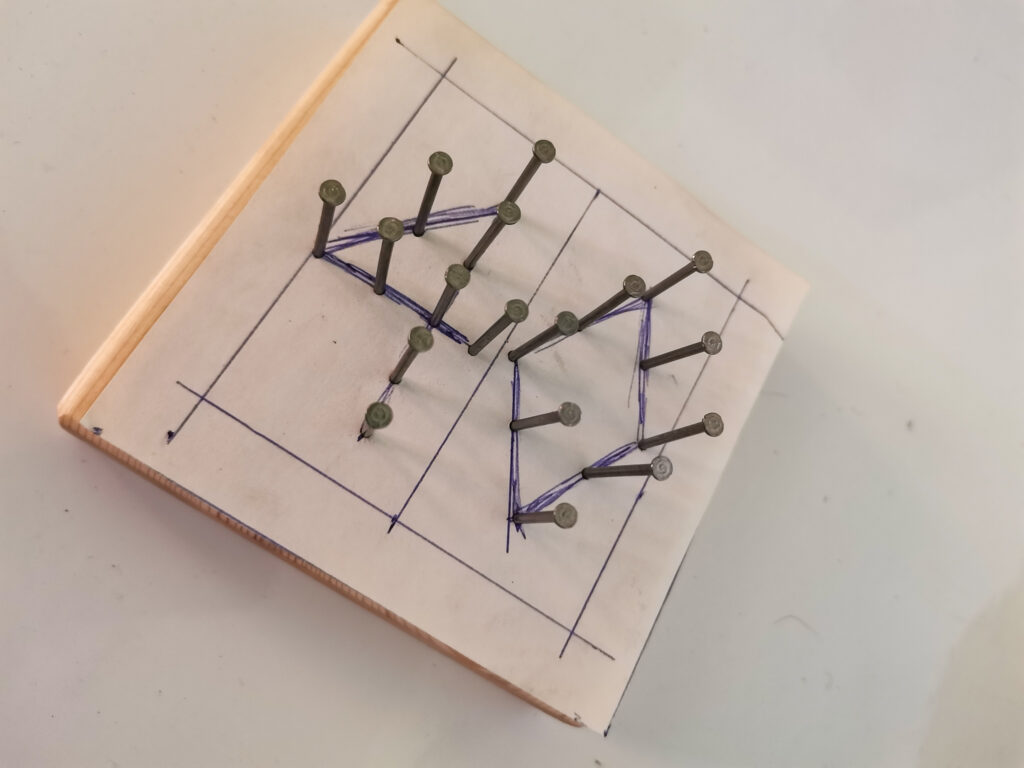
The next part is the design. This is best done on a computer but since mine is simple i just quickly drew it on a piece of paper. Although making even this simple design in Photoshop would’ve saved me from some alignement mistakes I made.

After that, I hammered in the nails on the lines of the design with about a centimeter of spacing between each other. Again, since this design is simple this part is easy, but with a more complex design, you might need to plan your nails more carefully. For best results, try to hammer them in to the same depth. I made a simple cardboard guide with which I could check how deep they are.
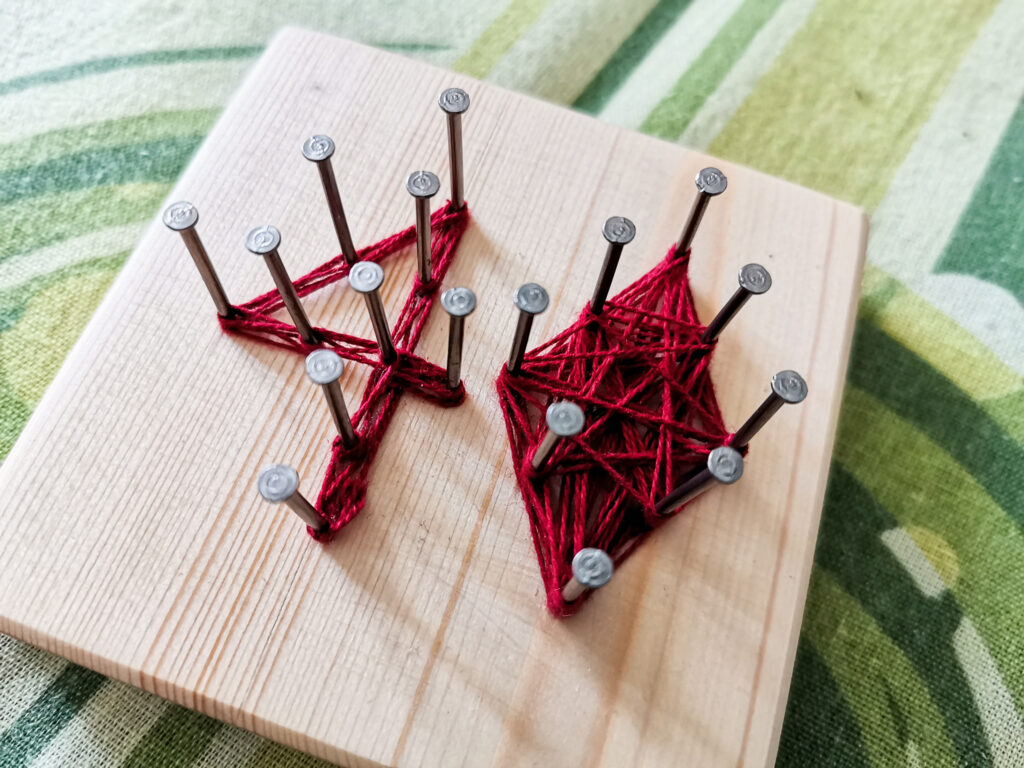
The last step is the most fun one for me, weaving the string around the nails. For more complex designs, with more colors and different shapes, this can be very different, but here I just followed the lines and filled in the diamond. For the straight lines the technique I find that gives nice results is weaving the diagonals between two nails and also the parallel lines on each side of the nail. And for filling in the shapes the best thing is to just connect every nail with every other nail.
While you could make the string part only on top of the nails, it looks better and fuller if you first make one layer on the bottom of the nails.
And then also go around the perimeter and build walls around the perimeter.
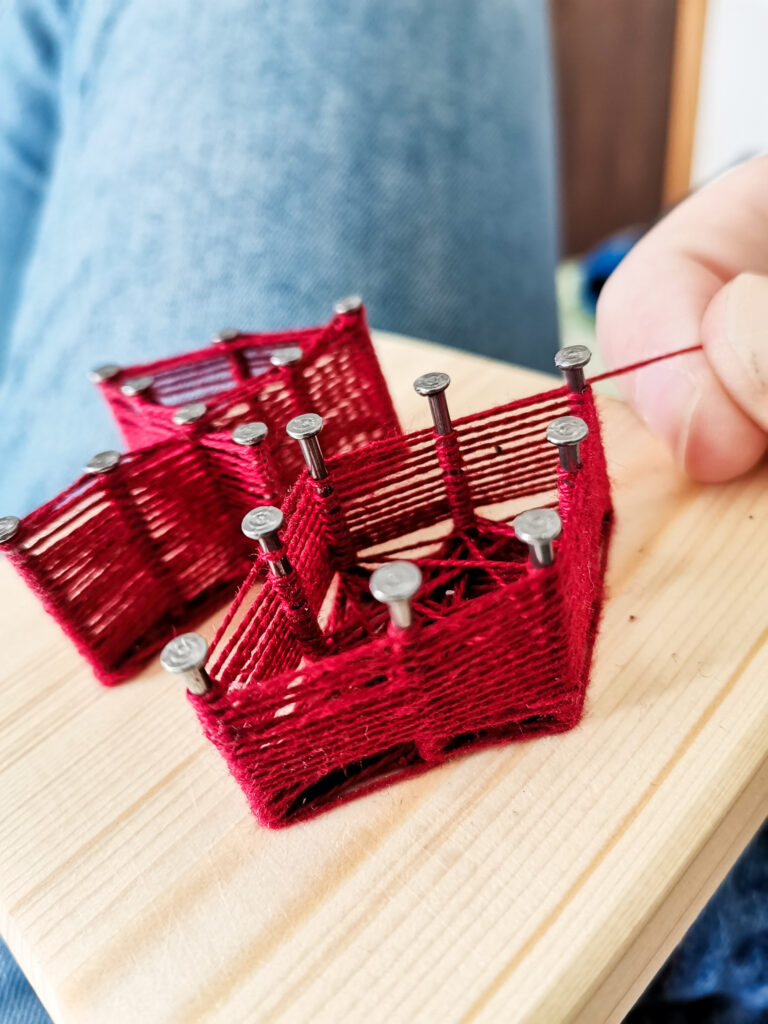
And then finally finnish the last layer.
Also, I’m sure there are better techniques for weaving the string but this i just mine.