Decoupage is as classic a craft as it gets. It is the art of decorating an object by gluing colored paper cutouts onto it. The origins of the technique can be traced back to the 12th century. The name comes from the French word decouper meaning to cut out. Today, those who don’t know much about it usually think it’s either something for kids to play around with or kitsch flowers everywhere. Even though both of those can be true, decoupage has a whole world within it that can be so much more diverse and incredible. I won’t pretend I know much about it, but even if you just scratch a surface as I did, you’ll see what I’m talking about. You will see why it is called the art of decorating. I will say that it is a very special aesthetic and it is probably not for everyone. But most people should at least be able to appreciate it.
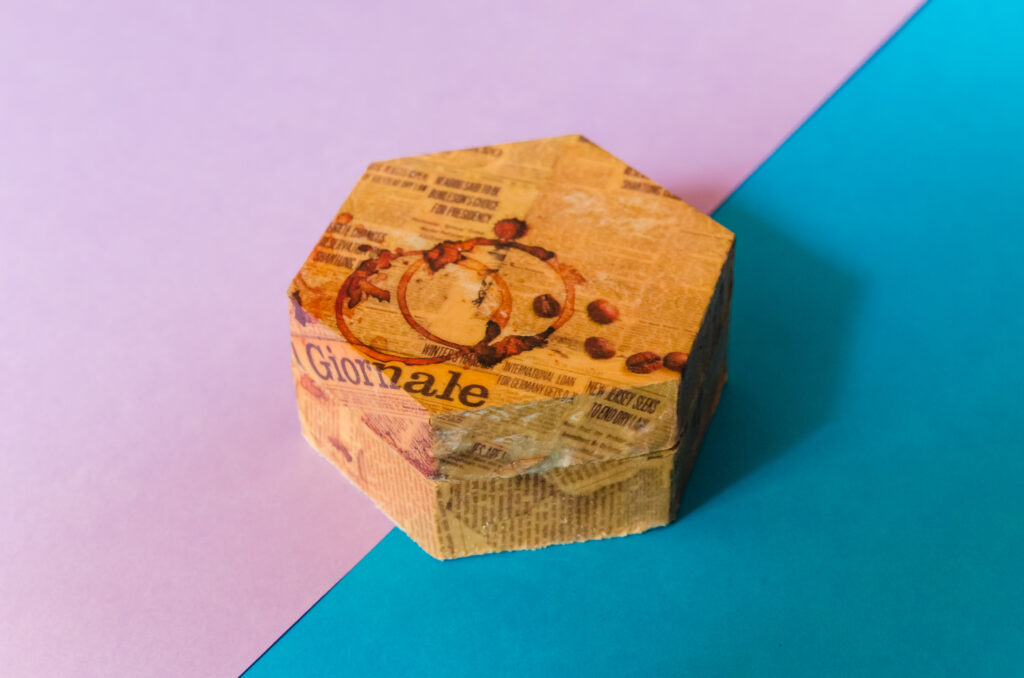
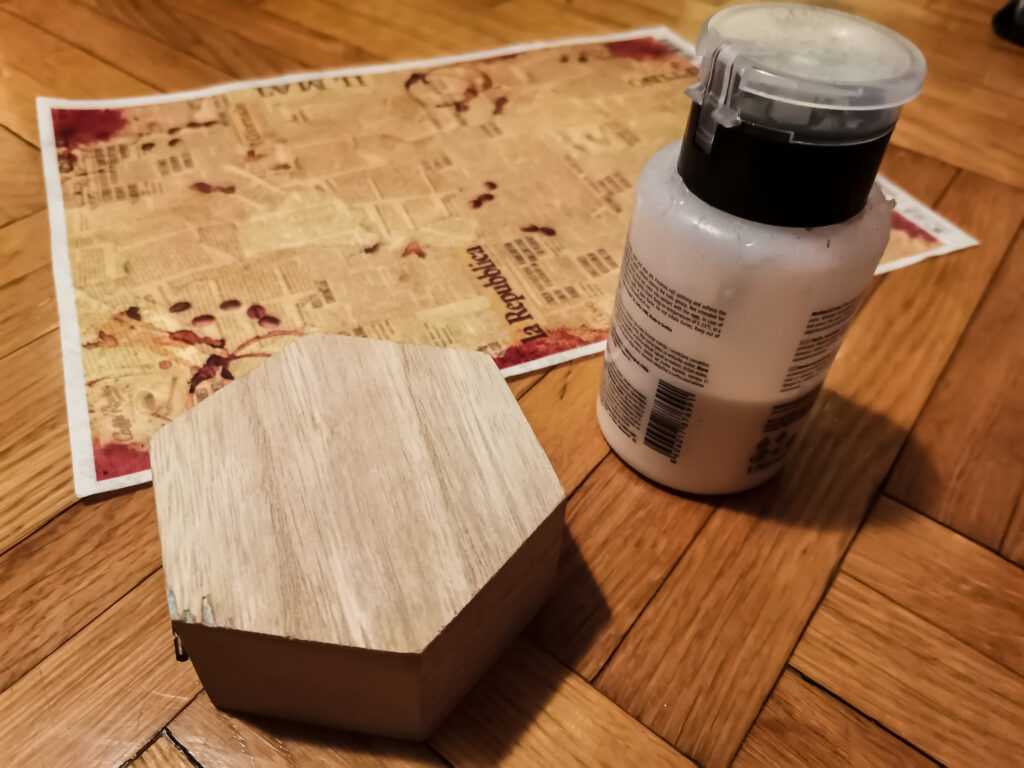
This ended up on my list simply because it is a classic craft, so it is an obvious choice for a challenge about making stuff. I didn’t have any special needs for something to decoupage so I decided to just do something small. I picked up a small, inexpensive wooden box and an extortionately expensive piece of decoupage paper and I already had paper glue from making the notebook earlier this year. This is a nice thing about decoupage, the barrier to entry is really low. And if you don’t want to pay crazy amounts of money for pieces of paper like I did, you can use napkins, pages of a magazine, or a bunch more similar things. I decided to use the expensive paper because it was the easiest at the moment and I didn’t have time to explore different routes.
And now when I have this box you could ask what I am going to do with it. Well, let’s just say someone will get a unique handmade gift. Just kidding, but if anyone actually likes this box and would like to have it, please contact me 🙂
Boring stuff
As I’ve already mentioned, the supplies for this project are very simple. Other than that, the tools I’ve used were only a ruler, pen, scissors, and an iron.
I started by cutting out the paper in the shape of the lid, but I added 2cm to every side so I can wrap it around the sides. But, for the technique I used, you can start by applying glue to the parts you want to decoupage. It is a bit more time-efficient because you need to wait for the glue to dry.
The next step for me was the said applying glue. You can place the paper on the glue at this stage, but it’s much harder to control it and keep it without wrinkles because the paper absorbs the moisture from the glue. Instead, you can wait for it to dry, then place the paper over it, and here comes the trick. You iron it. Just be sure to put a piece of paper between the decoupage paper and the iron. The tutorials say you have to use parchment paper but I used a simple printing paper and it worked just fine. What happens here is that the glue melts enough to stick the paper to the wood but you don’t have as much moisture because it’s dry and the iron is hot. And the iron keeps it flat on top of it.
After that, I trimmed the edges of the paper and added another layer of glue to properly set everything in place. The last step should be to apply varnish on top of everything, but I didn’t have it and I didn’t feel it was necessary to buy it for this. (Note: some decoupage glues can be used as a varnish)
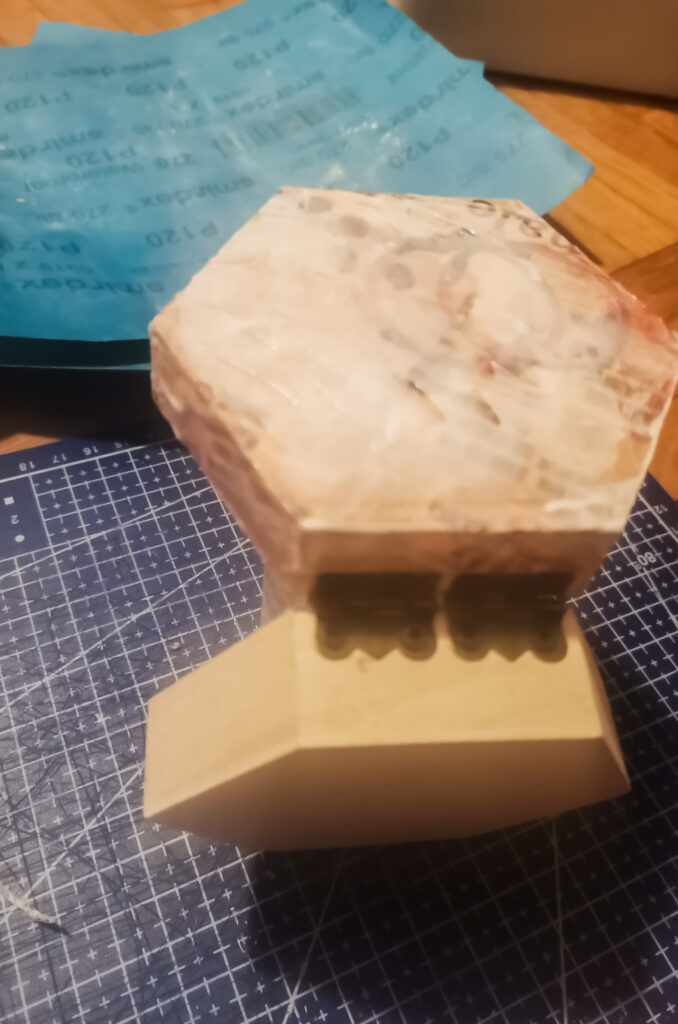
I repeated the process for the bottom half too. I skipped the bottom of the box since it sits on it. I also need to polish up the edges a little bit more because the paper is a bit shaggy on the bottom.