This has been a problem for me for a while now – not having a good headphone holder. Until now, my headphones would just lay on my PC case or on the chair or wherever would be the closest place to put them down. For some time I hung them on the back of the chair but that was peeling off the finish on the earmuffs. The holders I’ve tried were the stick-on kind and they would inevitably lose their grip and just fall off. Some even after just a week or two. So, this was the perfect job for 3D printing. Now I can make whatever I want exactly how I want it. I think this is one of the best use cases for 3D printing. When you have a very specific problem with a very specific solution in your mind. Sure, I could probably find something that is close to what I want on AliExpress or somewhere like that. But it wouldn’t be exactly what I need and I would pay more than 50 cents which is how much the material for this one has cost me. And I would’ve waited for it much longer. I designed this, printed it, and installed it all in one afternoon.
Boring stuff
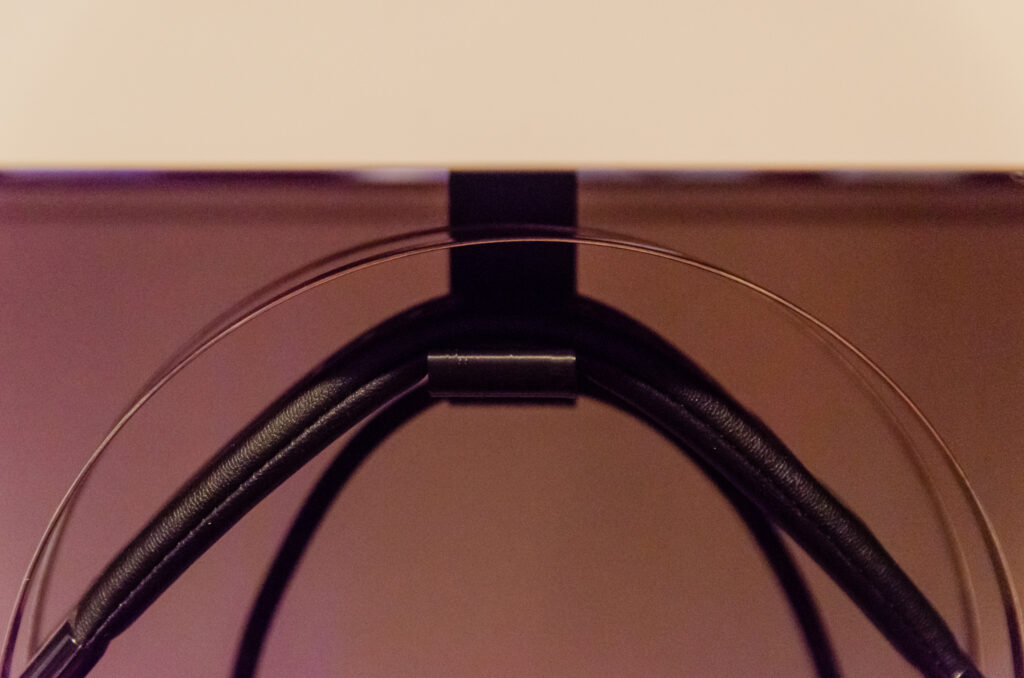
I started with the oasis for 3D printing – Thingiverse, where I found this model which was very close to what I wanted. It was made to be screwed under the desk and it had a hole for the cable which I needed because the cable for my headphones tends to tug around the PC case. When you take an existing thing from Thingiverse and make changes to it, that’s called a Remix, and here is mine if you wish to download it.
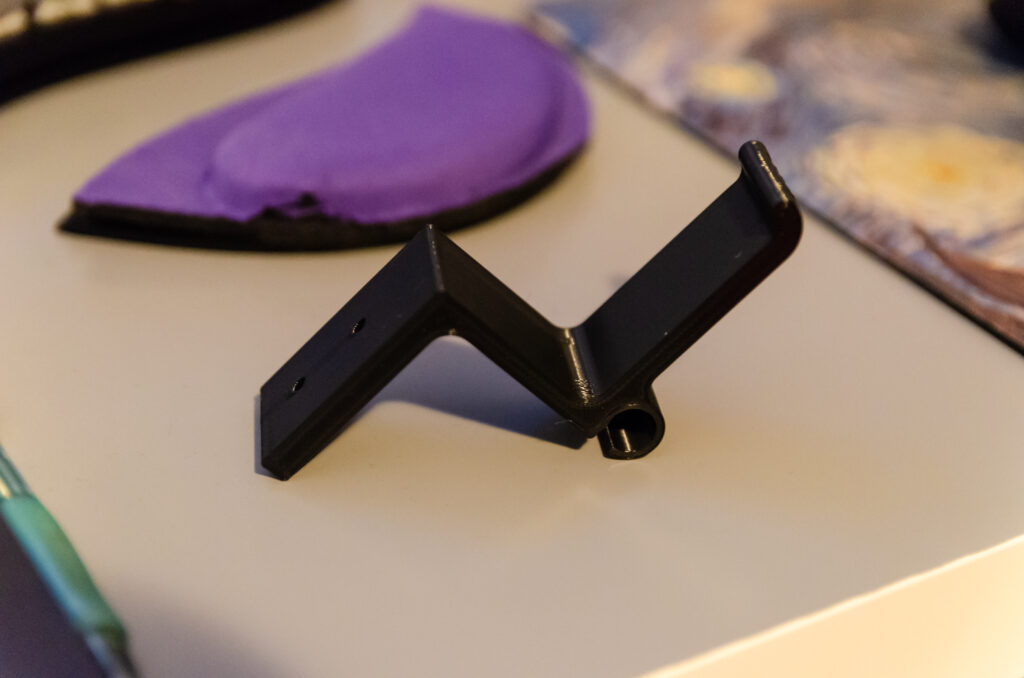
First, I traced the shape of the original model with a couple of adjustments. I made it a little thicker, and I elongated the mounting part so it can fit two screws. And I also made a cut out on the bottom part so it can fit the cable for my headphones. Since they have a USB cable, the cable wouldn’t fit through the hole. This is less structurally stable, but it should be fine. If it’s not, I can just print another version.

One of the great things with Thingiverse and 3D printing, in general, is that you can edit stuff to make exactly what you want. I didn’t have the screw that would fit the hole in the original model so I just made a hole that fits the screws I had. And thanks to Fusion360 It was super easy to even make it countersunk so my screws can end up flush with the surface.

Since I still don’t have calipers (I will get them soon), I printed a small piece of the model with the hole to test if I made it in the right dimensions. And as luck would have it, it was perfect. It was just tight enough so the screw would tap itself into plastic, which I think gave it a stronger bond.
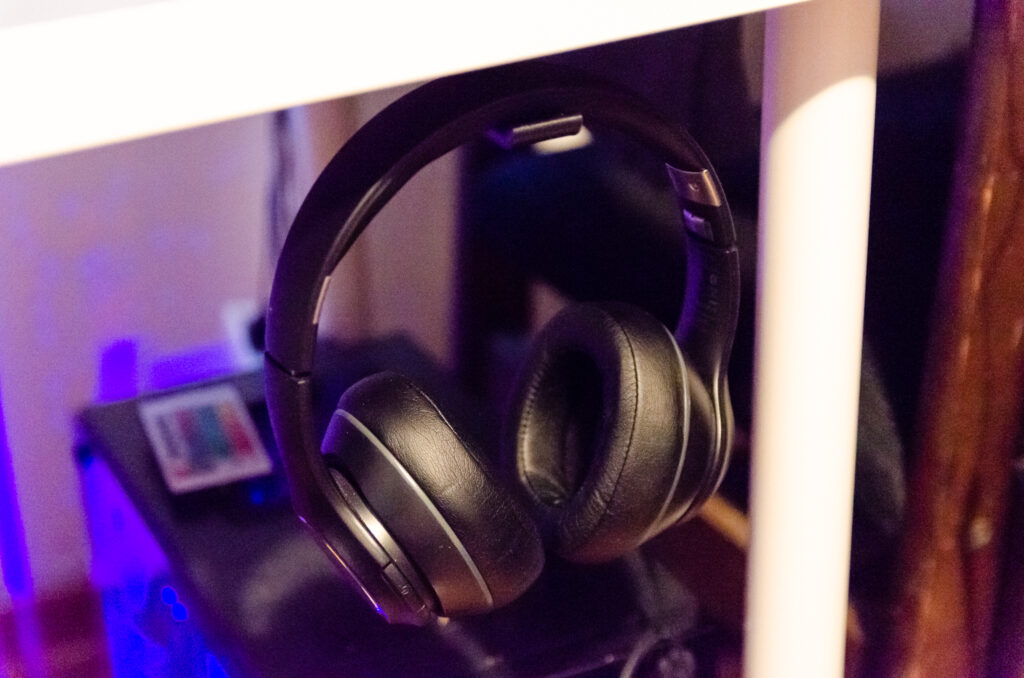
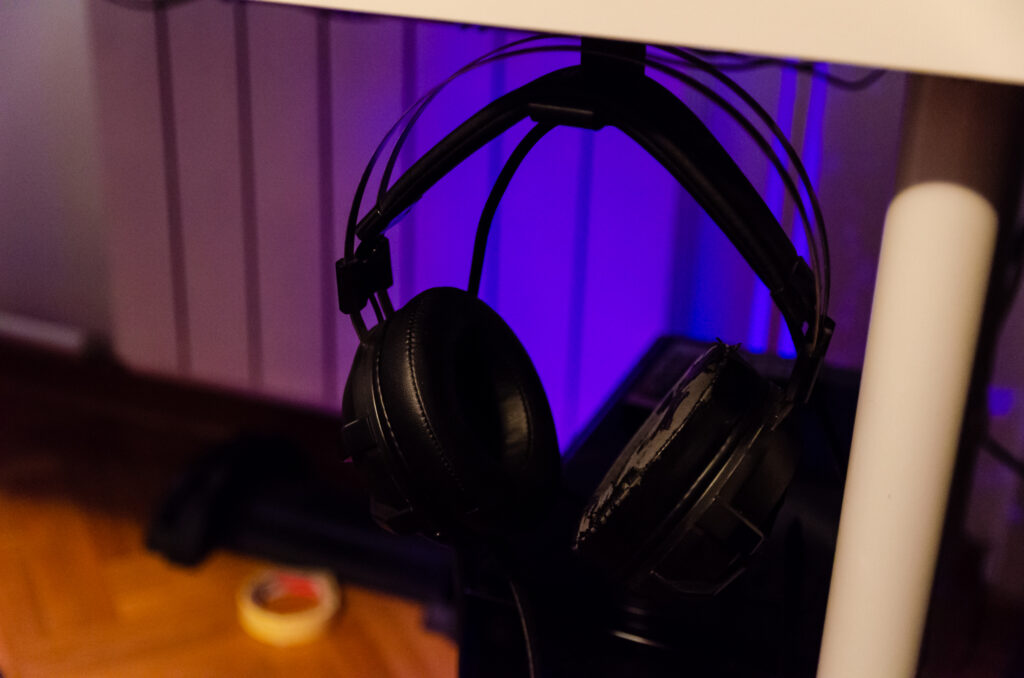
After that I just printed the whole model and screwed it under the desk. I used mostly the default settings with 50% infil and the print took about 2 hours. It works perfectly for now.