I would say woodworking is one of my great passions, but I feel I would need to be a part of that trade to be able to say that. I can say that I am passionate about wanting to do that. I’ve watched countless woodworking videos on YouTube and there is something there I find really satisfying. One of these days I might find words to describe the feelings I have when making things, or sometimes even watching them being made. So far, the only word I’m coming back to is satisfying. I’m finding some similarities in the things I’ve done so far. There is that same feeling when manipulating something to get in the shape you want to, be it fabric or wood or paper. It’s a similar feeling as when building with LEGOs when the bricks are just clicking with each other. Woodworking offers a lot of methods and techniques as well. One of the most fun things I love in woodworking videos are jigs. Jigs are tools woodworkers (and people of many other trades) make so they can make some steps they need to do easier or even possible. It’s just a fun concept, you make something in order to make something else.
I’ve already talked on this blog about how my dream is to have a workshop like Adam Savage. Part of the reason why I wish that are all the tools that he has because there are so many ideas I would like to make happen but don’t have the tools for it. For this project, I’ve used the most basic tools you can – a small saw (because I don’t have a proper one), a box cutter (because I don’t have the proper saw for plywood), and a drill I’ve borrowed. And it’s mostly the same story with the materials I’ve used. A board from the DIY store that was twisted and curved but I didn’t have a better one so I had to make it work and a sheet of thin plywood that we use in Serbia’s equivalent of a shop class. Speaking of this, I am writing this blog in English for a couple of reasons. One is that the main place I’m publishing these stories is Facebook and I have friends there who don’t speak Serbian, and another is to have a better reach or better chances of helping someone who maybe tries to make this stuff and stumbles onto my blog. And of course, in case this blog gains traction, I become famous and stuff like that :D. So, if you’re a non-Serbian speaker reading this blog, please let me know.
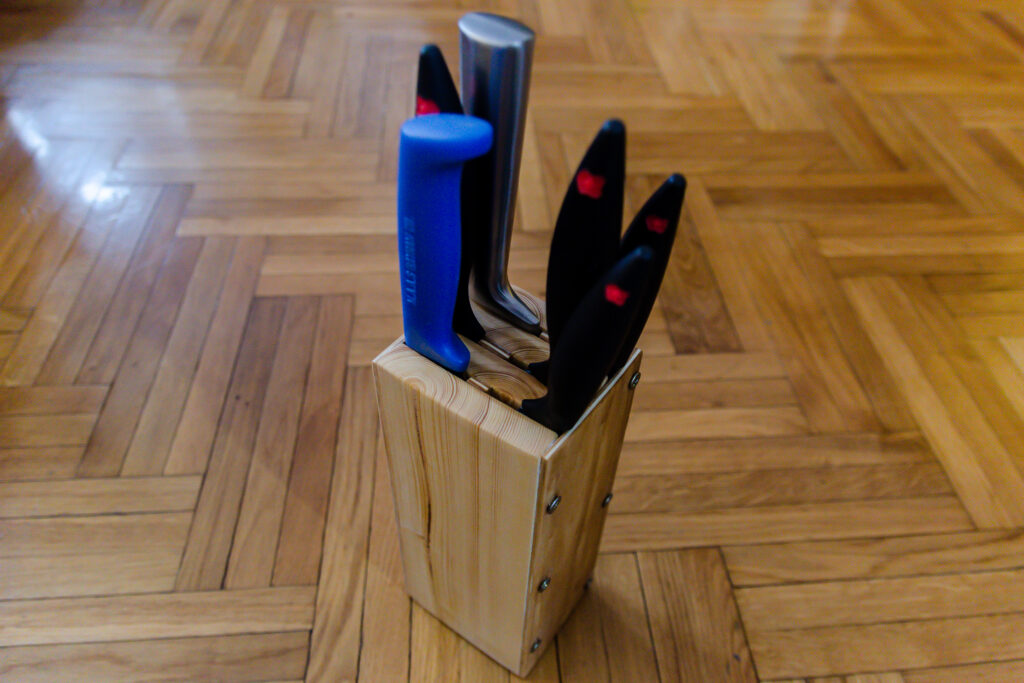
Anyway, let’s talk about this week’s project. I talked a lot about woodworking but I’m not sure I would consider this woodworking considering how simple it is. What I made is a knife block, and the reason why is very simple. I had a set of knives sitting in a box and it was very annoying to get them out and return them in the box every time I would want to use them. I did consider buying a knife block but the ones I found were mostly too expensive. I did find an affordable one in IKEA but at that point, I already decided to make one so I didn’t buy it. The one I made actually ended up being more expensive than the IKEA one, but I did end up with enough extra material to make another so if I considered that in the price it would be cheaper.
Boring stuff
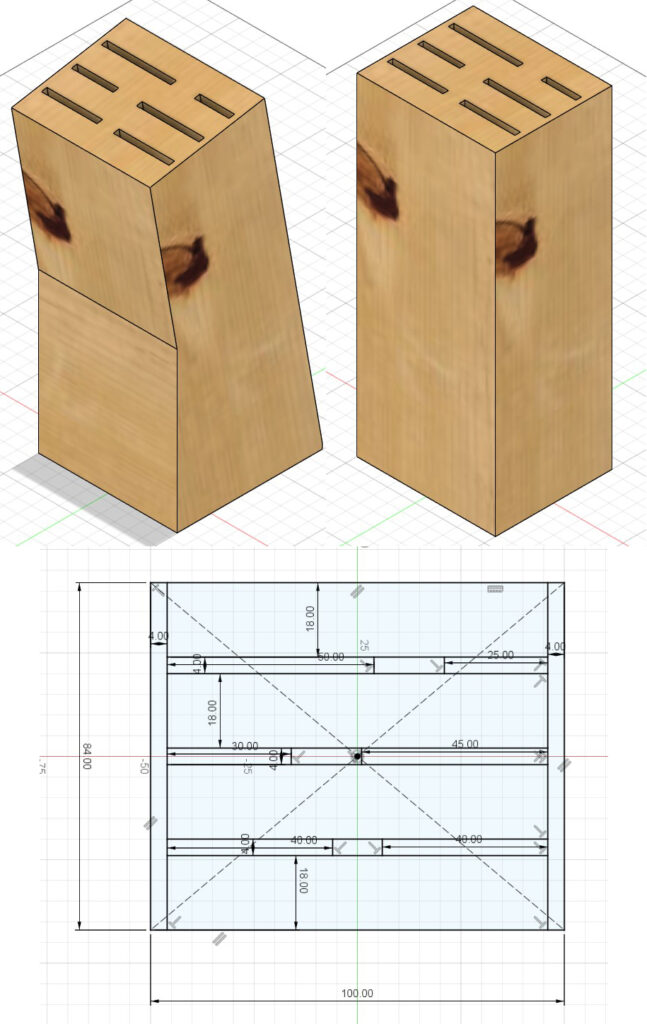
For this project, I actually prepared more than I do for most of them. There was a sketch, to calculate how much materials I need. I also made a 3D model to see how it would look. Luckily I made a parametric model so when I didn’t find the board I wanted at the store, I could easily change the design to fit the new dimensions. And also, I changed the angle for the block multiple times which would be hard if it weren’t parametric. You will notice that the end product is not at the angle but I do plan to do that in a way that I don’t have the tools for right now.
Since I don’t have the tools I wish, I had to settle for a very simple design, a board cut into 4 equal pieces and strips of thin plywood acting as the separators for the knives and also plywood for the sides of the block.
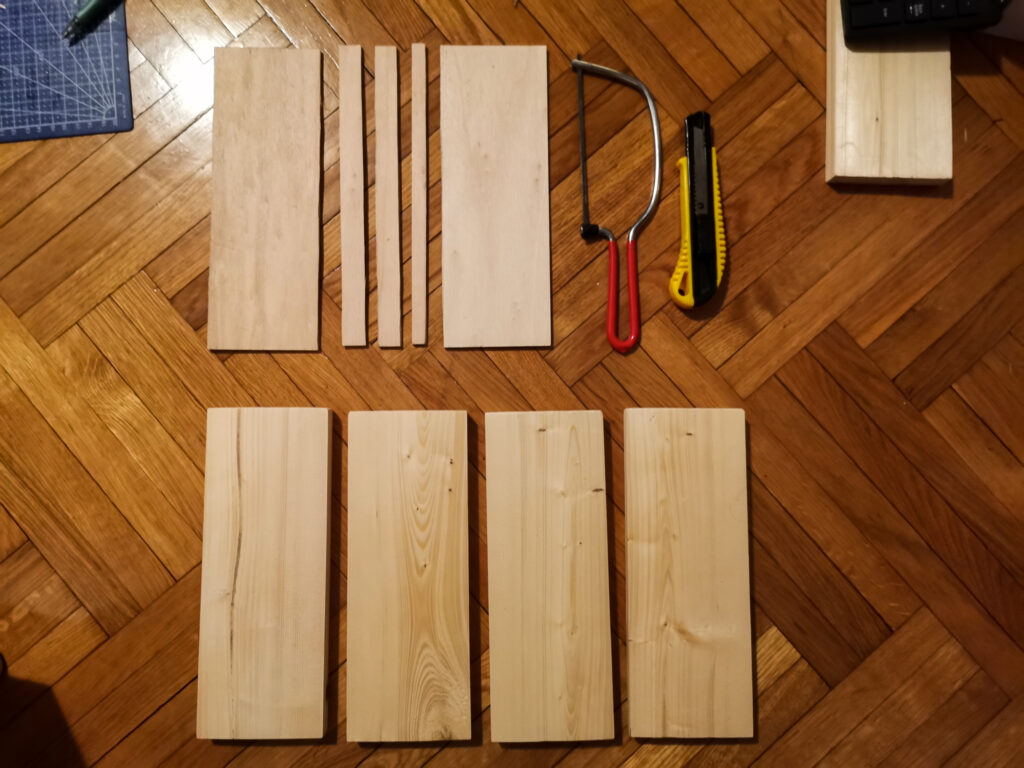
The process was very simple, I’ve cut the aforementioned pieces of wood to needed dimensions. Although I would call the cutting process fun since I didn’t have the proper tools. The small saw I have actually made nice cuts but it can’t go through the whole board at once so I had to go from both sides and meet in the middle. And since that saw definitely isn’t big enough for the plywood, I used a box cutter for it. Luckily it’s only 4mm thick so with some persistence it was possible to cut it like that. After that, there was a lot of sanding to clean the cuts.
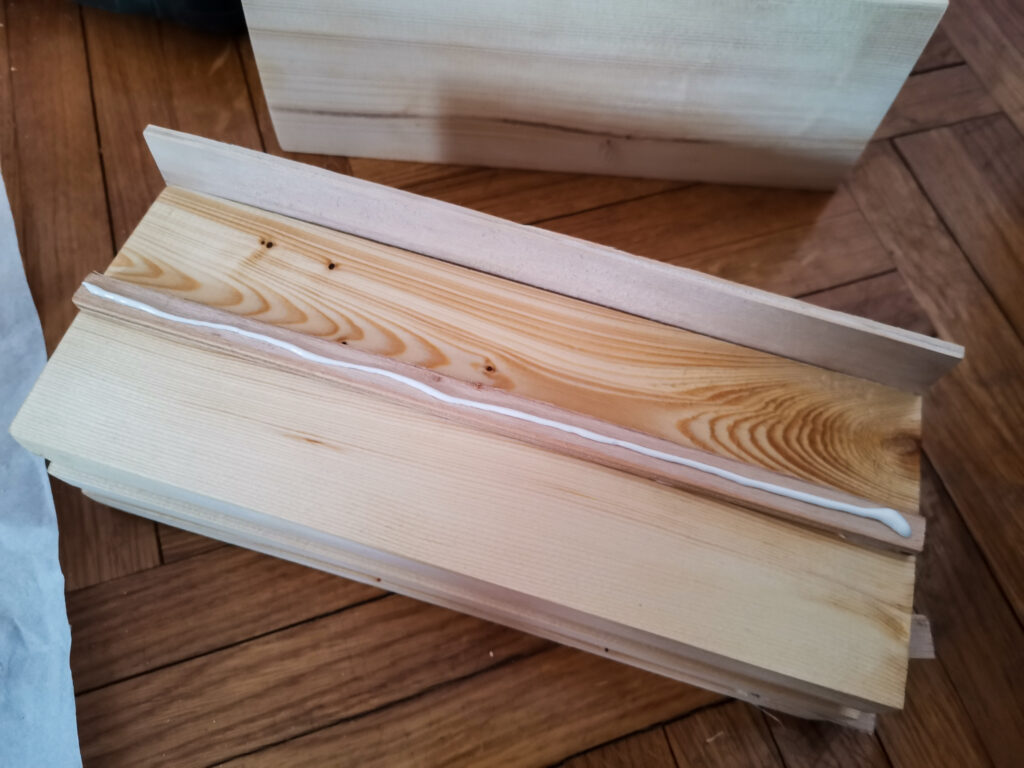
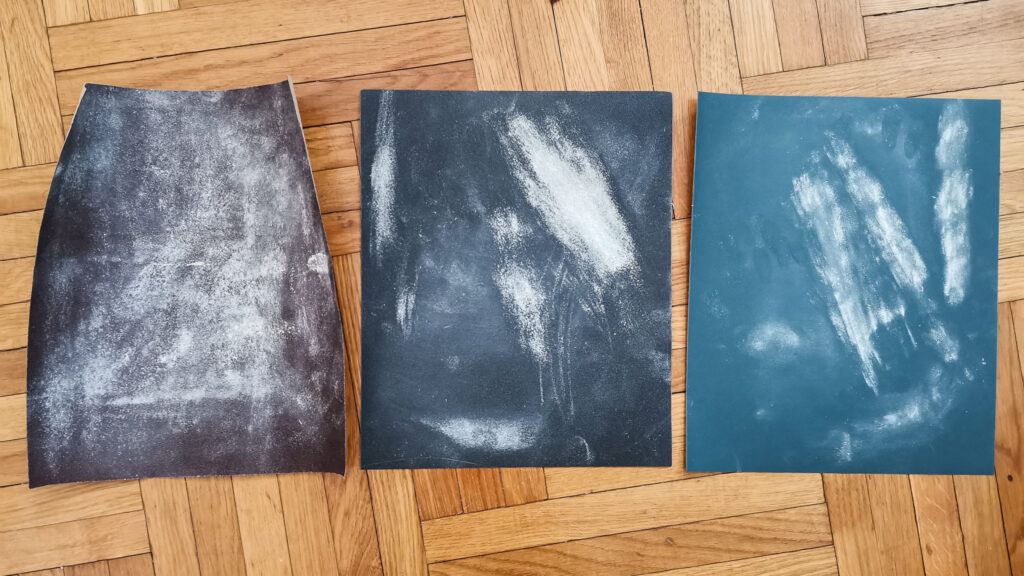
Then I applied the linseed oil to the parts of the wood that are going to end up inside since I won’t have the access to them when assembled. After that came the assembly time. I used wood glue and screws to hold the block together. I also predrilled the holes for the screws. The assembly was really difficult to do precisely without any tools to help me so I ended up with some bad alignments. The next part ended up being surprisingly fun. I never liked sanding too much but that was because I never sanded something in order to give it a nice finish. All the previous times I would sand something it would be to remove material and that’s boring and usually takes way too long, but sanding for a nice finish is a totally different story. I used 80, 120, and 400 grit sanding papers and that gave me really nice and smooth results.
The last part was applying the oil to the outside of the block and I’m really satisfied with how it ended up looking. The oil really brought out the grain of the wood and gave it a nice and warm color. The most satisfying thing was finally taking the knives and putting them in the block. Now they have a new home and while it’s not the best-looking one, it’s not too shabby and it’s handmade which is always a plus.


