I’m not sure how, but at some point I’ve stumbled upon a photo of a DIY lamp and I was immediately hooked. The thing is, I needed a bedside lamp for a long time now, but I could never decide to buy one because lamps are surprisingly expensive. So when I realized that this is something you could DIY, I was set on making one on my own.
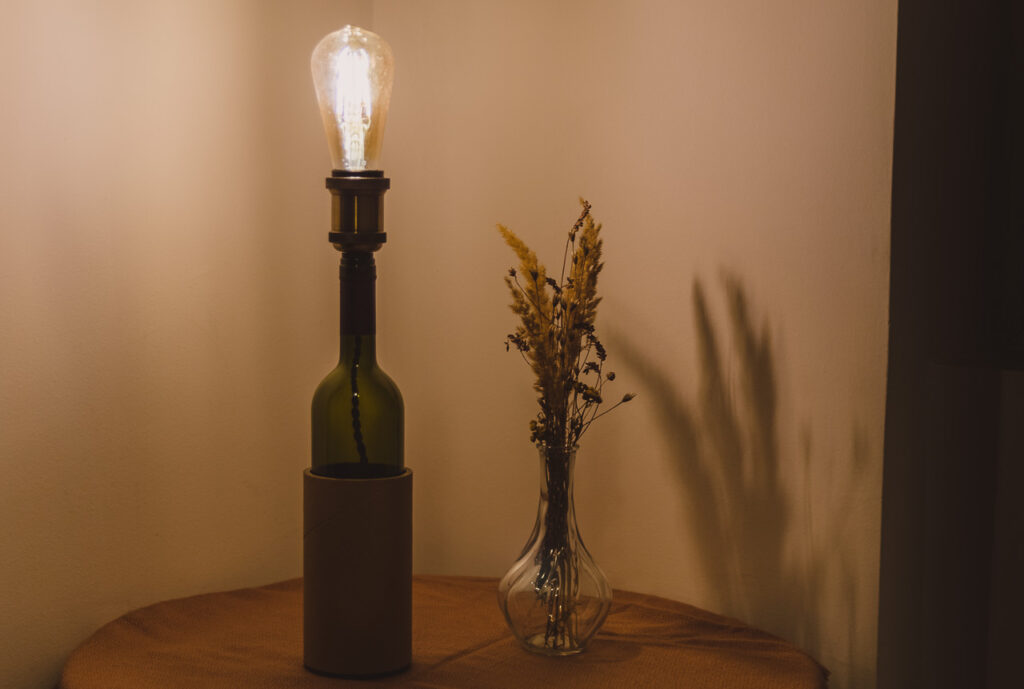
The final shape of this one came together slowly. The one I got the initial inspiration from didn’t look like this at all. Later I searched for more inspiration and I’ve seen some bottle lamps and that seemed like a cool idea. As luck would have it, a little before this week I had a birthday party at which a bottle of wine has been drank so I had a body of the lamp. Somewhere else I stumbled upon these beautiful brass retro-looking lamp holders. At first, I thought I could order them from AliExpress, but it was way too late for that and I couldn’t finish the lamp before the end of the challenge, but luckily, they can be found in Serbia too. A little more expensive than AliExpress, but when you’re short for time, it’s worth it. And of course, you need to have a decorative Edison lightbulb. This one looks nice, but it is also 500 lumens (50W incandescent equivalent) so it gives plenty of light, the warm yellow kind. And that outer shell around the bottle is just some thick cardboard pipe in which a photo I’ve printed was packaged. When I’ve seen it I knew I could use it for some project, I just didn’t know for which one. And then I discovered that the wine bottle fits perfectly inside it and I like how it looks.
This was by far one of the easiest projects I’ve done, but it is also immediately one of my favorites because the end result looks amazing and, if I may say, professional. And if that wasn’t enough, it is also practical and something I actually needed.
Boring stuff
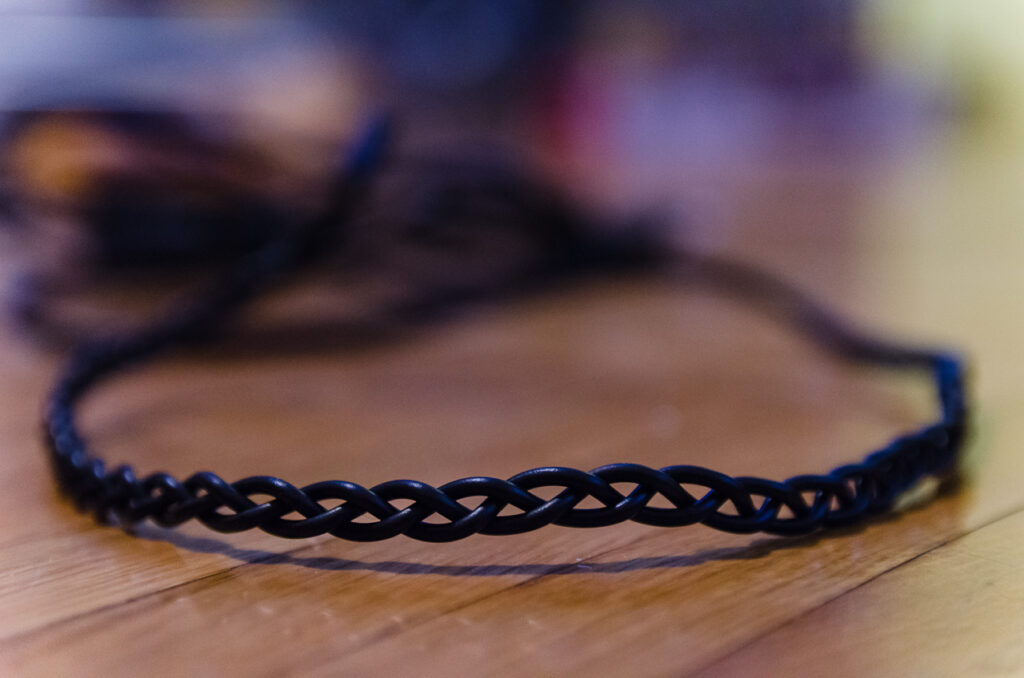
First, I did probably the most irrelevant and unnecessary step. Since the cable I bought was a bit short between the integrated switch and the end, if I just wired it like that the switch would be very close to the bottle and I didn’t like that, so I decided to extend it. But, since I realized it would probably be visible through the bottle, I decided to make it pretty, so I took some wire I had from the cable sleeving project and braided three strands. I only needed two for the extension so the third one is there just so I could make a braid.

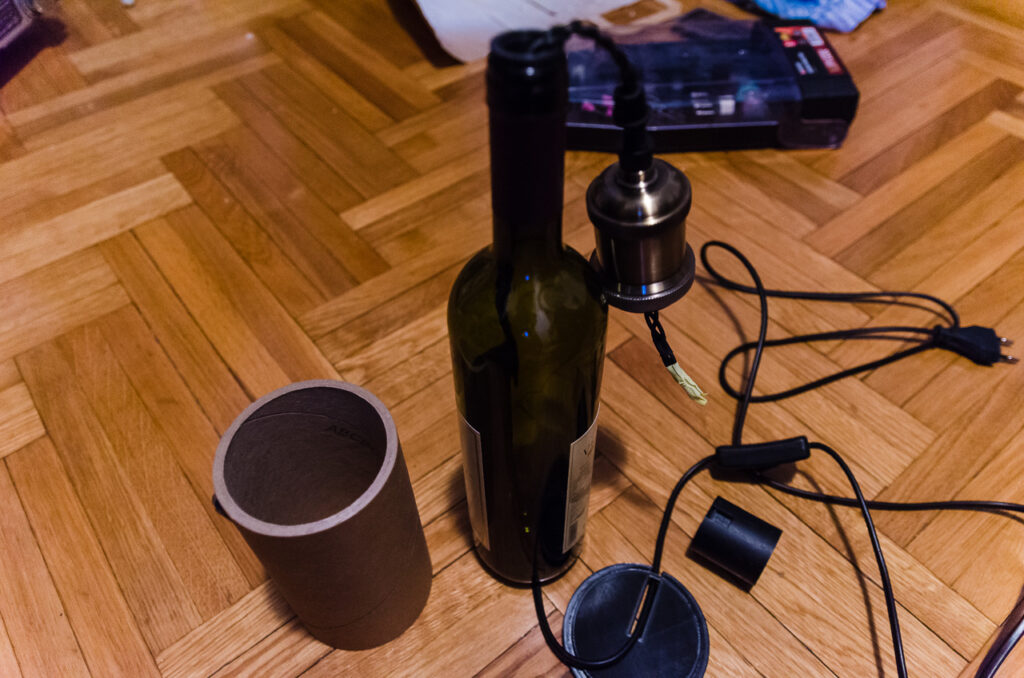
Then comes the only difficult part, drilling the bottom of the bottle. This part is difficult because you need special tools and, to be honest, drilling the glass is scary, You’re always afraid it will shatter in your hands. I’ve used a rotary tool with diamond bits which are perfect for cutting glass. At first I used one with a ball head just to drill through the glass, and then I used a cylindrical one to widen the hole since it wasn’t wide enough to pass through the cable. Also, while drilling, I poured some water on the drill spot in order to cool the glass. I’ve heard that helps, and to my delight, this hole process went without a hitch.

After that, the lamp is almost done, all that is left is to wire the holder and assemble everything. You need to be careful in which order you pull the wire through the parts so you have everything you need in the end, and in the right order. Wiring the holder gave me some trouble though. First, it was weird and a bit hard to take apart. And then later, one of the contacts was a bit loose and that caused some shorts which blew the fuses in my apartment two times. After the second time, I didn’t want to play around more because I didn’t want to break something for good so I asked my girlfriend’s dad, who is an electrician, for help. He was the one who figured out the short was happening because one of the contacts was loose.

I also 3D printed a couple of parts just to make fitting some parts easier. These are not necessary but they make life easier. If anyone wants an easy DIY project to make, this one is great because it’s really easy, and you get something cool and practical. And my favorite part – it was cheaper than any decent lamp I’ve seen.
